How It’s Made: Lost and Found - 6
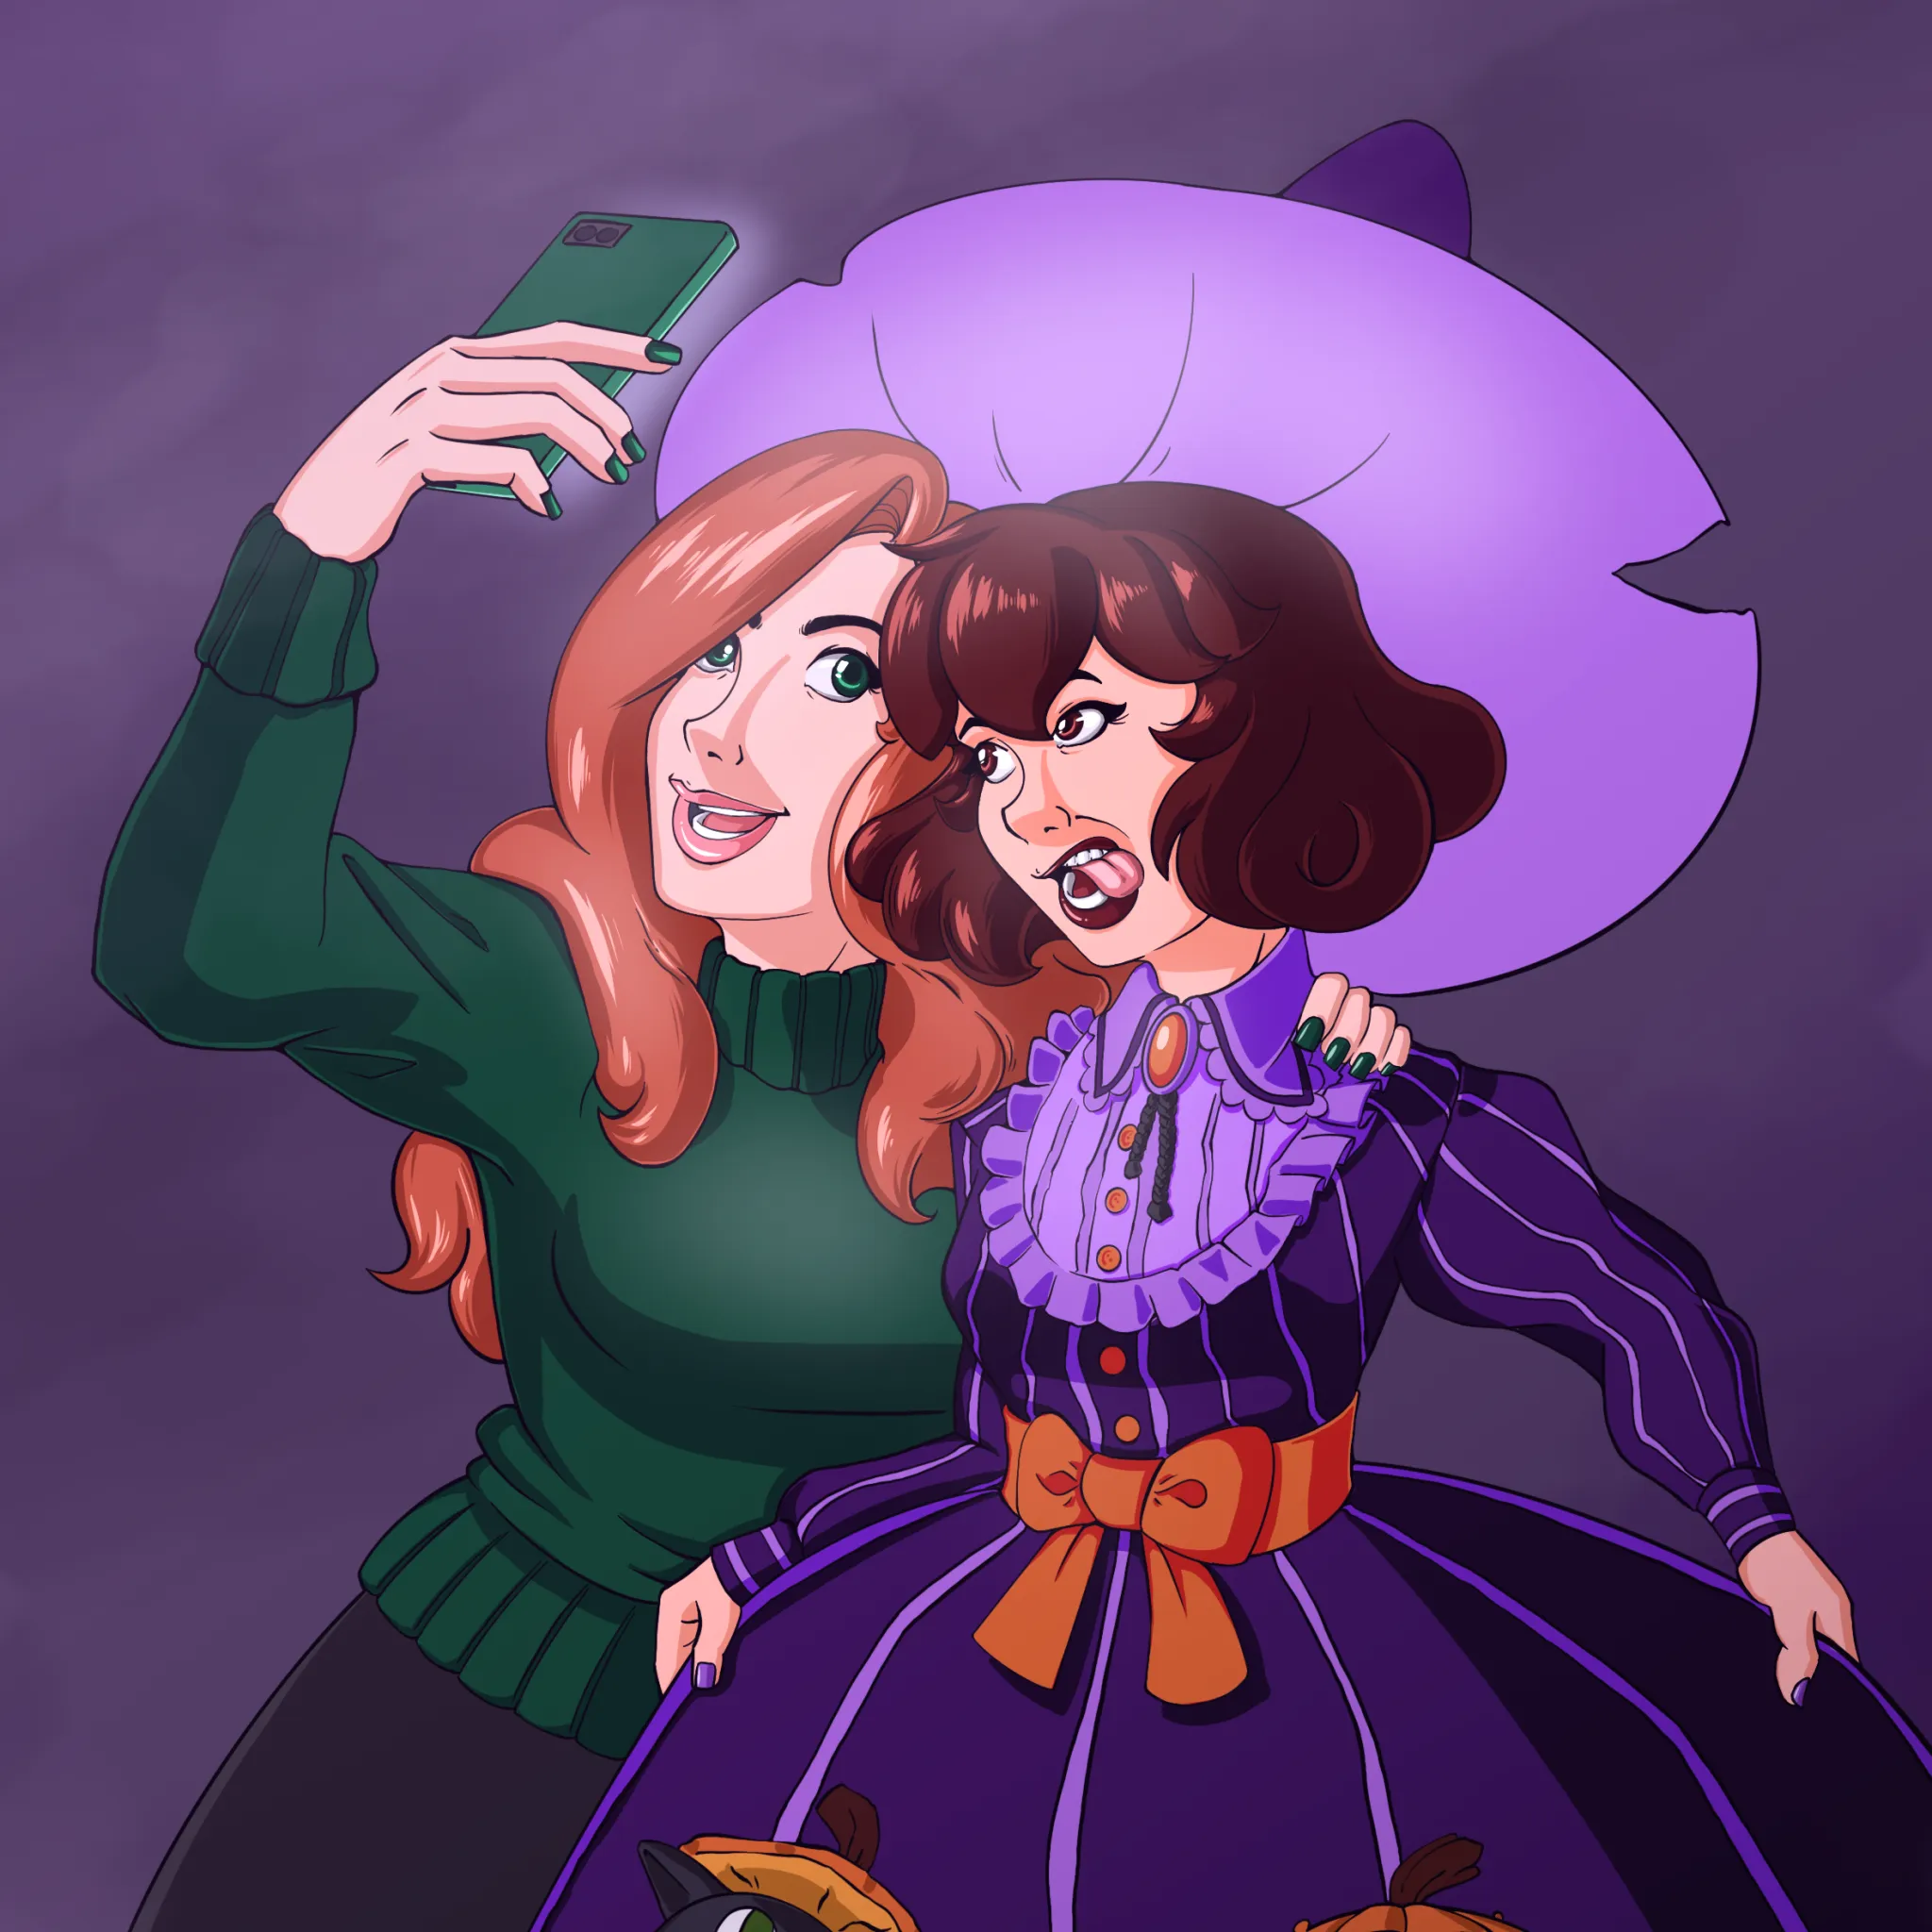
Let’s go behind the scenes for the latest page of This Mortal Coil: The Rabbit and the Moon and see how it’s made: 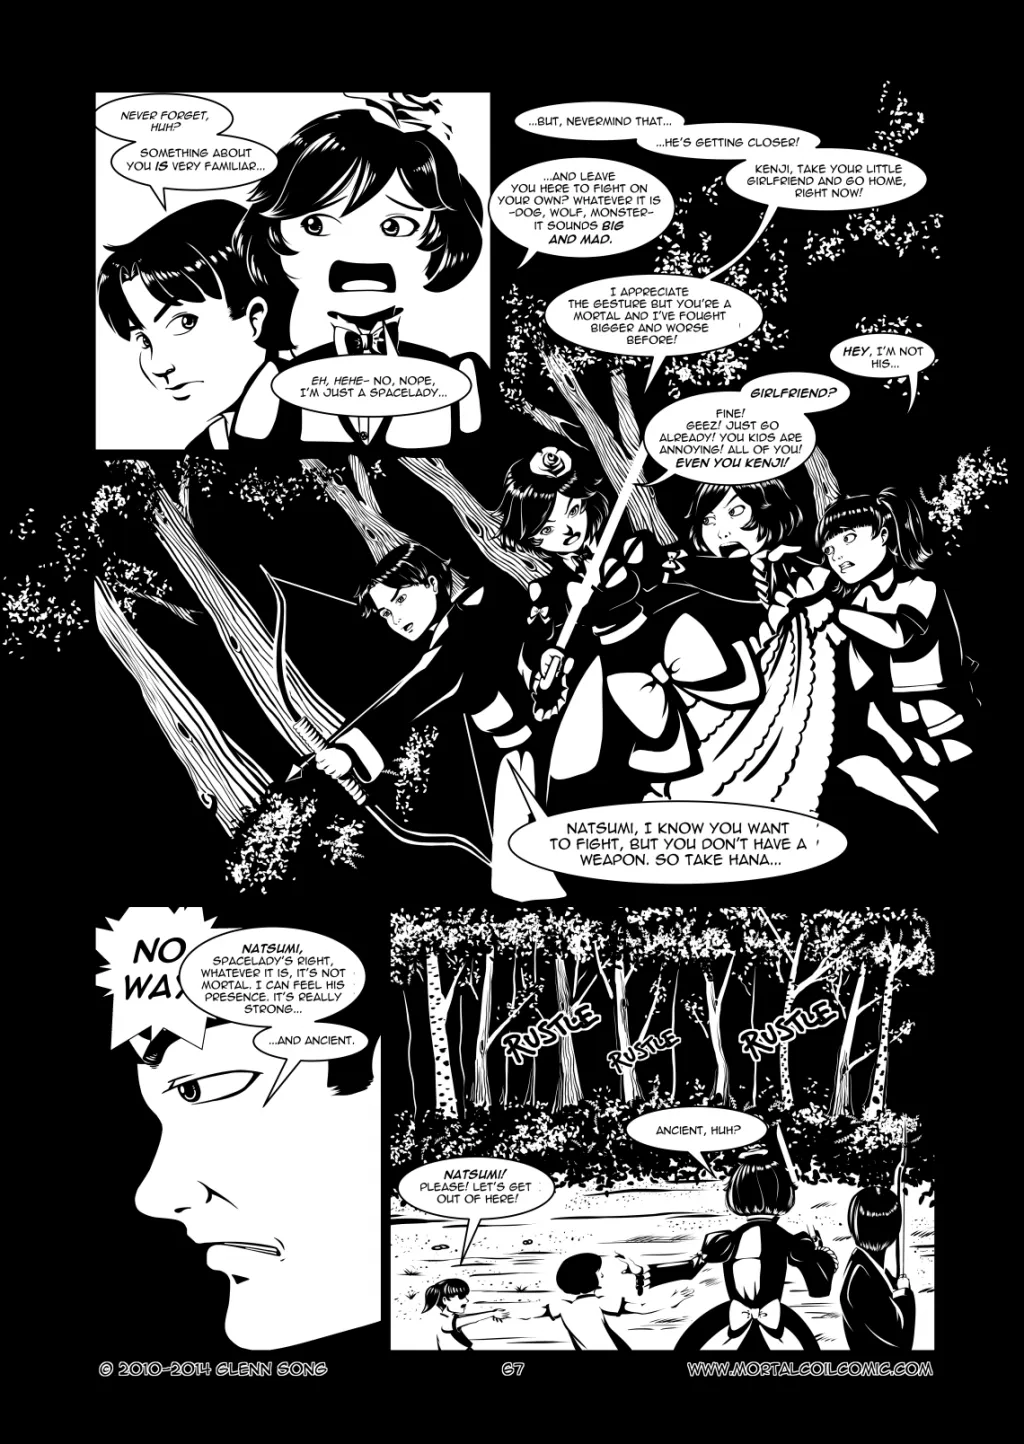
Folder Structure
Before we jump into the page itself, I’ll talk a bit about how I organize pages when they’re in production. Here’s the folder/file structure:
- Scene # - Chapter Title (main folder for all individual pages)
- s#-1 (Scene #, Page 1 folder)
- Manga Studio .lip file (or .psd)
- reference artwork, 3D-previs (if any)
- Full sized cropped PNG 5198 x 7349 pixels
- Web sized PNG 1140 x 1608 pixels
- Tapastic icon to go with page upload
- s#-2 (Scene #, Page 2 folder)
- …
- s#-3
- s#-1 (Scene #, Page 1 folder)
This is the folder structure I’ve used for the last two years for producing the comic. Only recently, because I’m posting weekly have I expanded the content that’s kept in each folder. It used to be only the PSD or LIP file that was kept in the folder, but now I want to retain more of the behind-the-scenes material so I can blog about it later.
When each page is done I backup the folder to another computer and that gets backed up offsite. I don’t really trust my HDs not to fail on me. I’ve had plenty of fried HDs in the past, so I want to increase my offsite and onsite backups.
If there is ever a paper version of the book I should be in a decent position to recut the pages. All of the originals are 600dpi and follow a B4 manga page size. I could even produce an extras section pulling content from this blog and my references.
Lost and Found Page 6
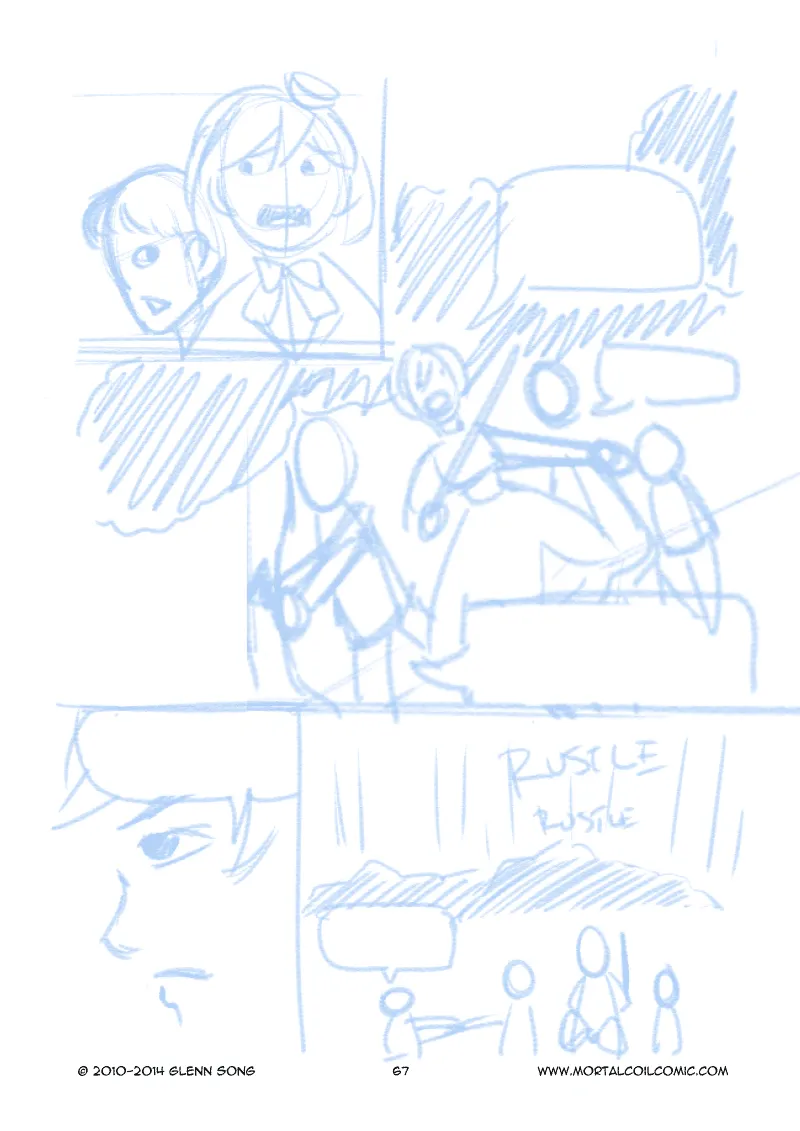
Here’s last Saturday’s page in rough storyboard form. So, if you watch a movie like The Kingdom of Dreams and Madness which is a behind the scenes look at Hayao Miyazaki’s film The Wind Rises, you can see him drawing storyboards/continuity sketches. He really goes all out — he puts in quite a bit of detail and colorizes them. My storyboards, and the reason why I got them done so fast, was because I drew them sloppily. The point of storyboards for me was to figure out how to layout each page and the action in each frame. This isn’t to say that once the storyboards are set in stone, I’m done with them forever. They still mutate and change.
A year ago, I did a recut of the storyboards for chapters past chapter 5 in an attempt to chop out 32 pages. Using the lasso, move, and scale tool I was able to move these rough images around to correspond with the revised script. I actually do count that as a fairly good bit of work towards finishing the comic. Pages I don’t have to draw save me time after all and in this case, I measured about 6-7 months. Over the summer I cut out and condensed more pages.
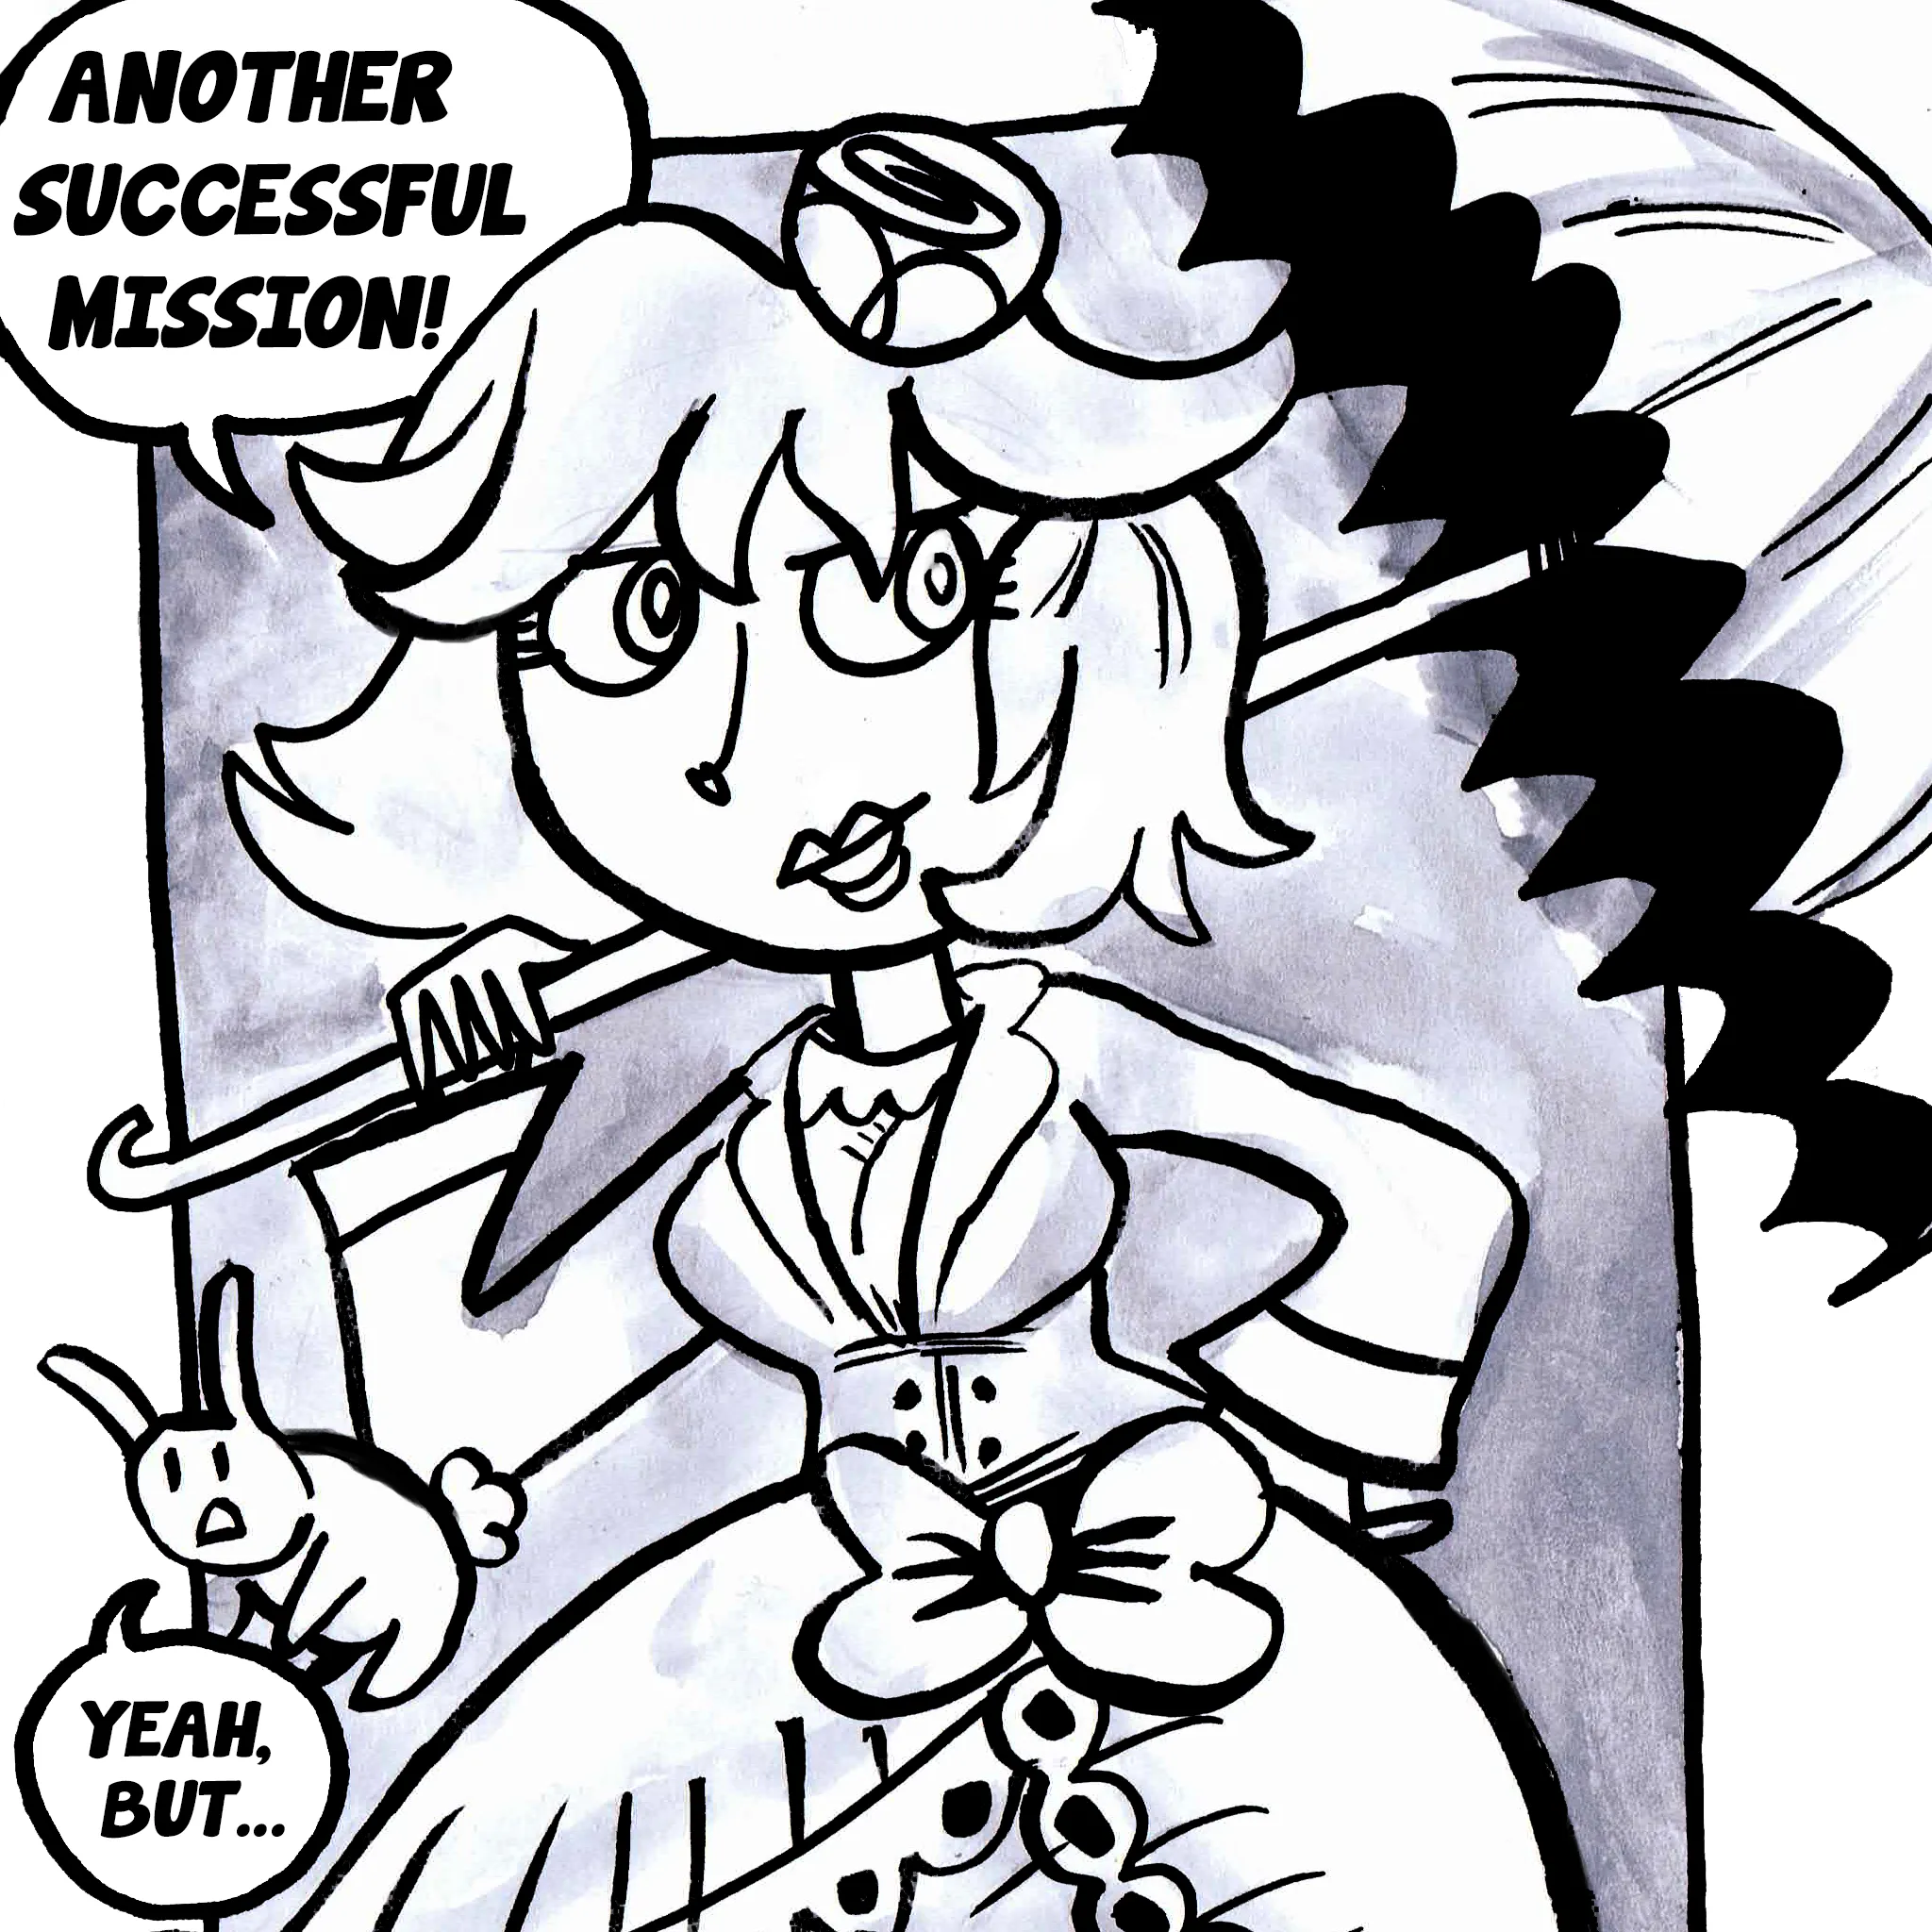
Framing and Dialogue
From that rough storyboard, I can lay out the frames. See the image below. Manga Studio has a great set of paneling tools. Once you’ve defined a large rectangular frame for the page you can easily drop lines (and non-orthogonal lines at that) to divide it up further into frames. It’ll even create a folder structure and layers (w/ masks if you desire) to help you organize your drawings. I don’t bother with much of that as of right now.
Once I get the frames set I put in the word bubbles next. This way I can figure out where to draw and where not too and that saves me some penciling time. It also allows me to design the word bubbles and re-write the dialogue. I often spend some time just writing and re-writing the dialogue — it’s really fun. I’ll copy the text from Scrivener and lay it out into a bubble. Sometimes, more often than not, I’ll read it and hate everything I wrote and rework the wording across the entire page. To me this is where the characters start coming alive and that’s probably why I find it so much fun. A lot of the dialogue was written two years ago and my conception of the characters (esp. Kamiko) have changed in that time so it’s good to write it fresh.
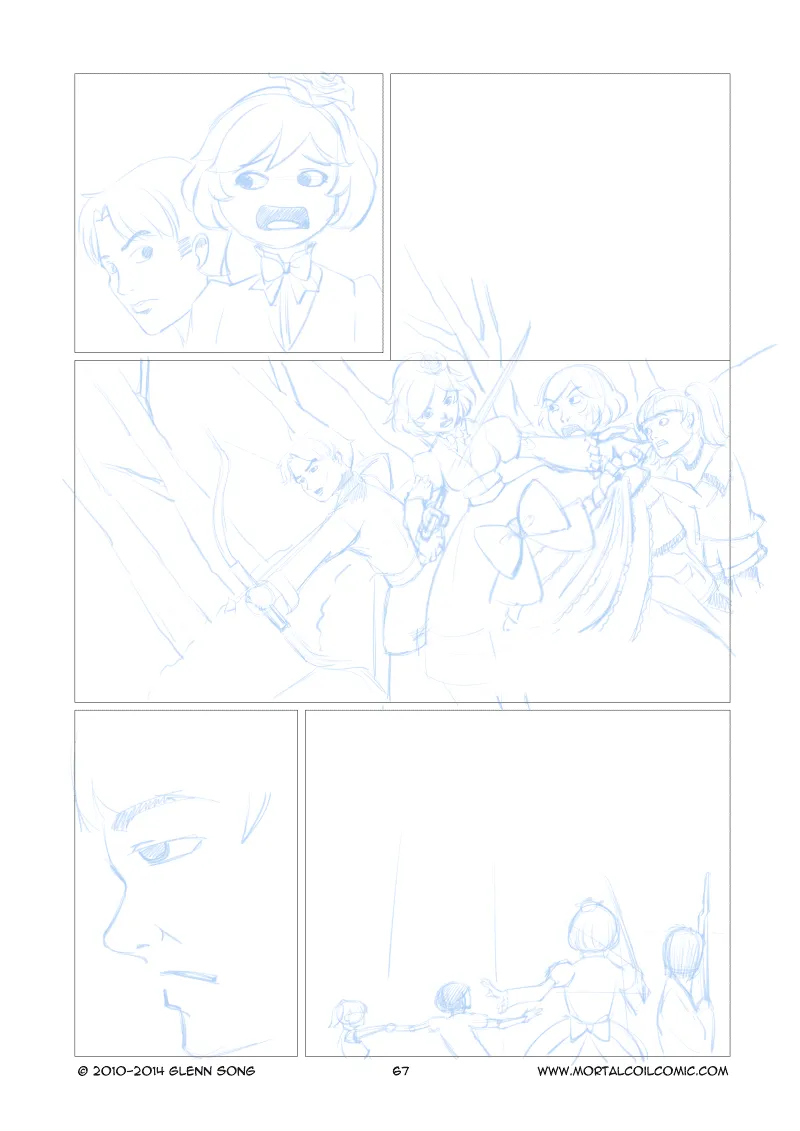
Pencils
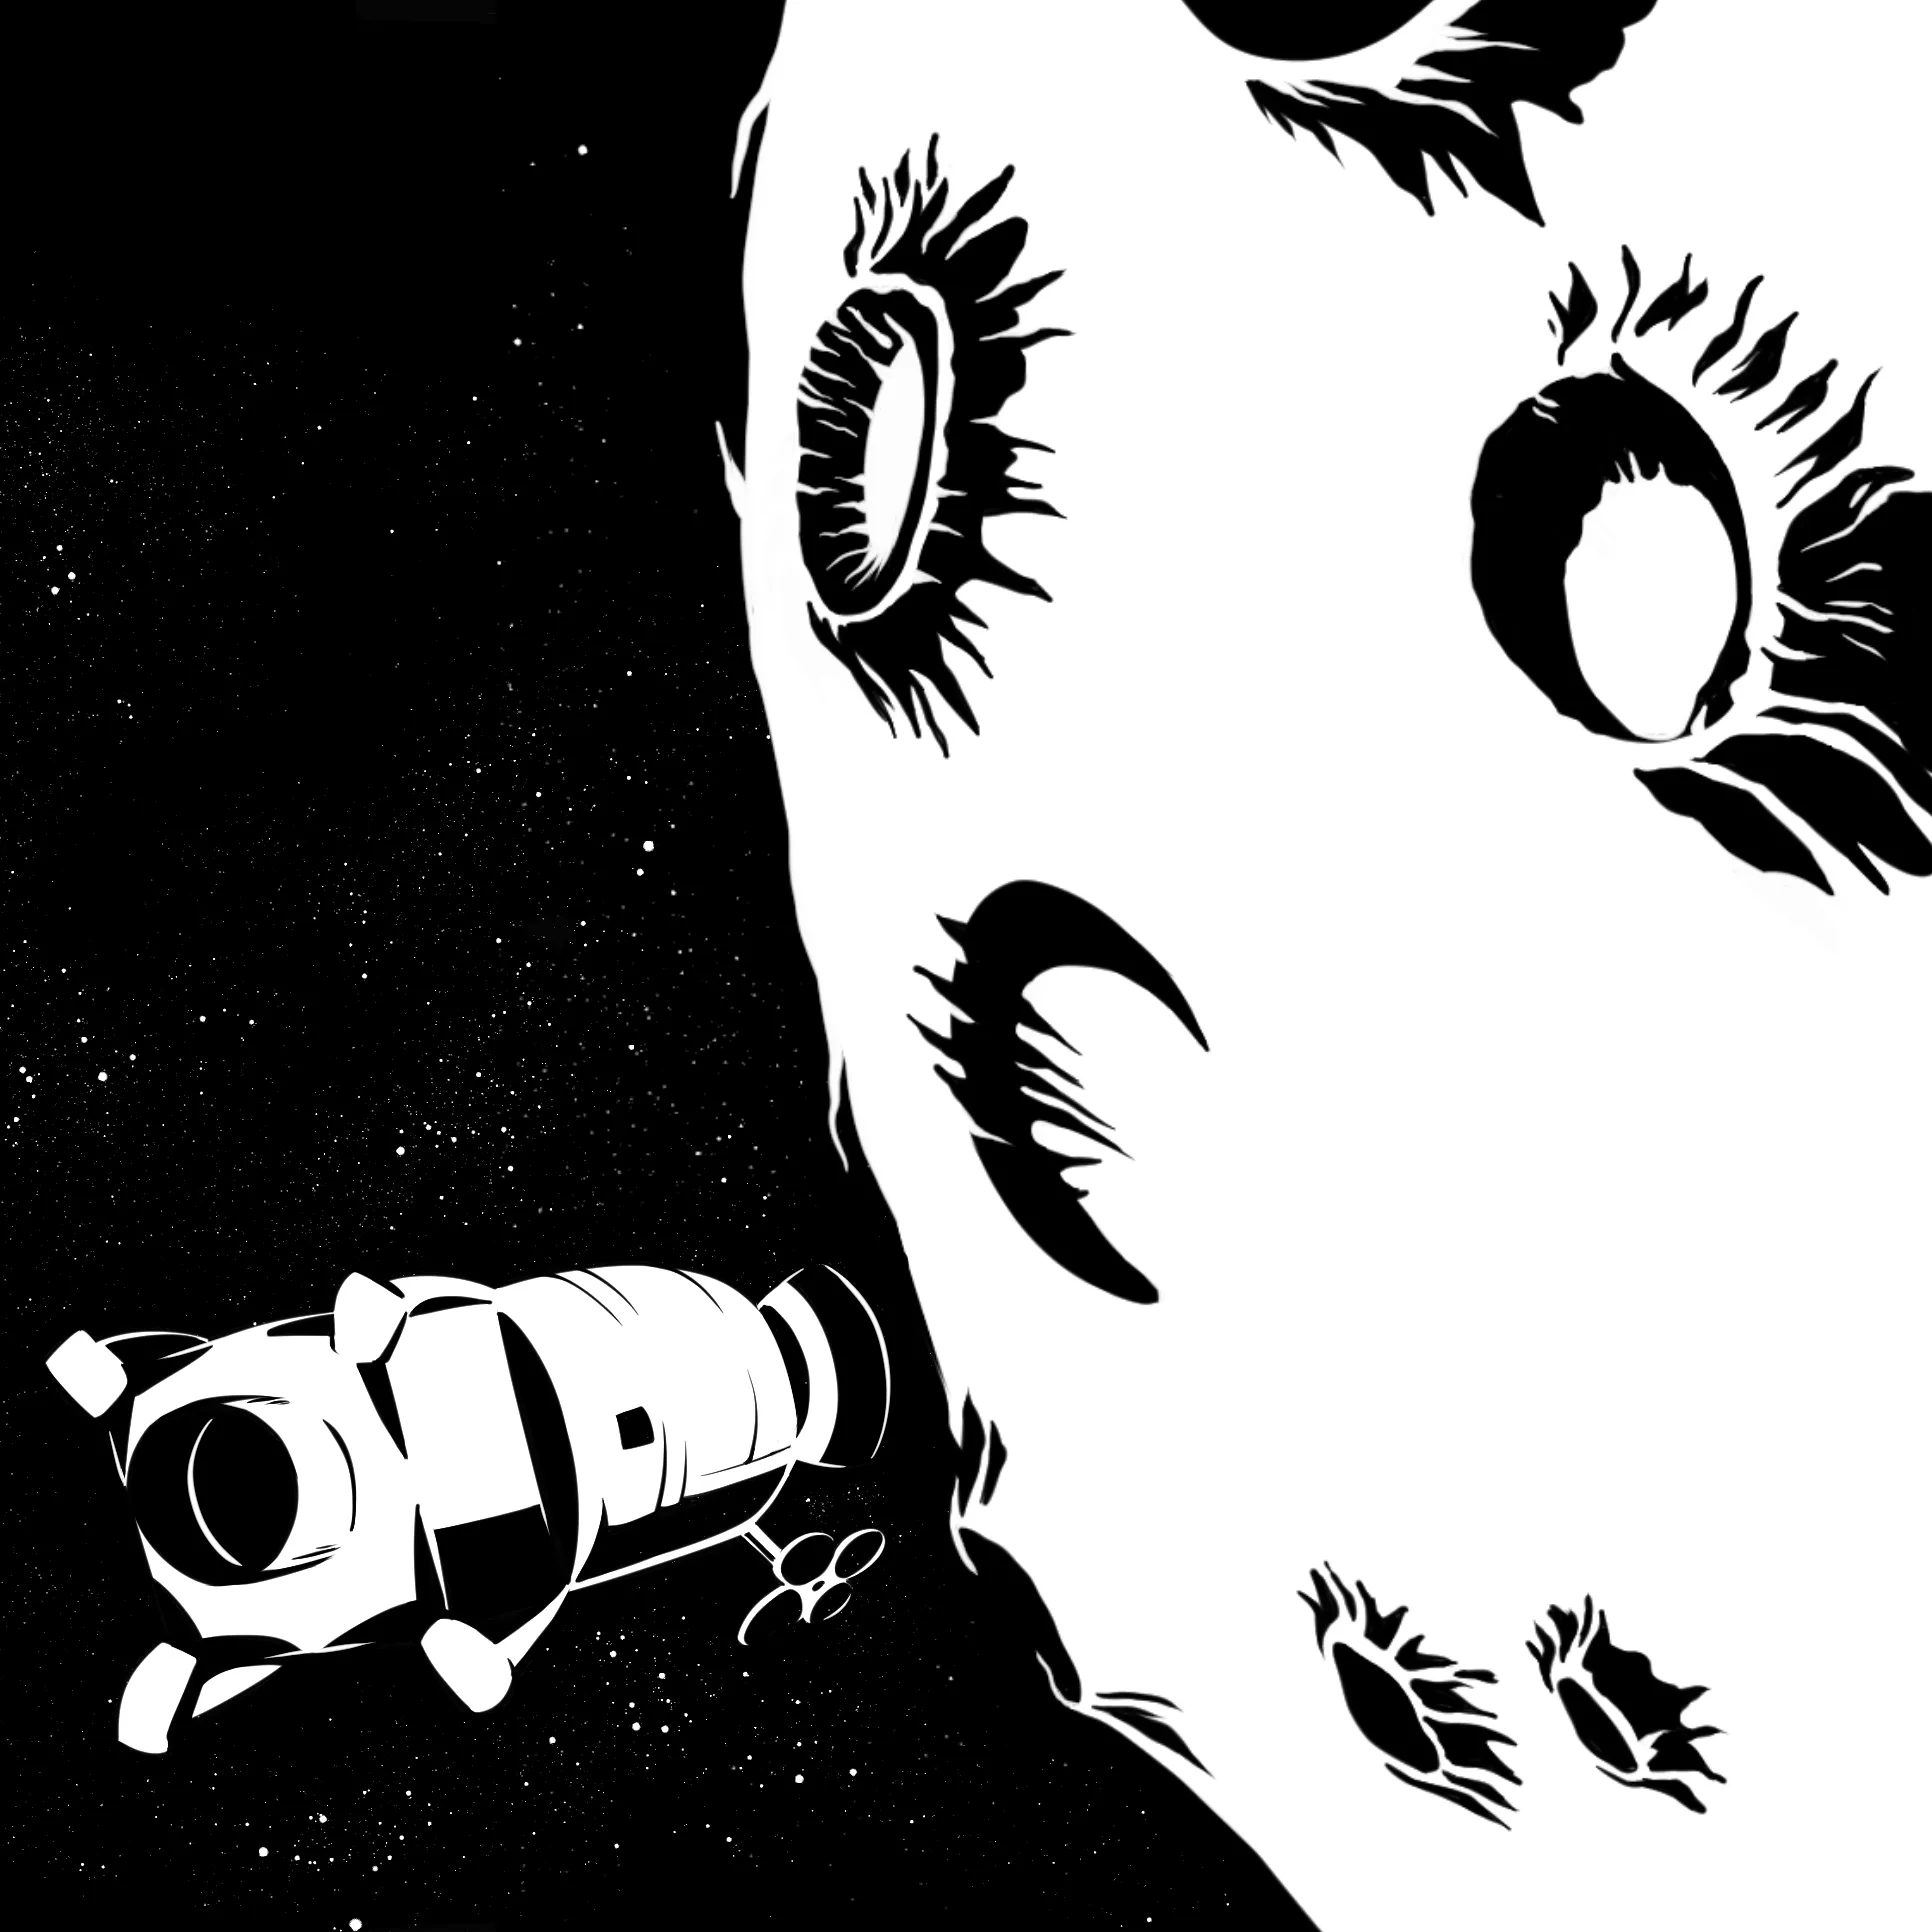
My penciling is slightly less sloppy, but still pretty awful. :) In this page I wanted a big dutch-angle picture that showed them ready to fight (well Kenji and Kamiko anyway). Where there were bubbles I didn’t bother to draw anything. In the dutch-angle frameless frame image, I know those are going to be tree tops — something simple because it’s got to intermingle with word balloons. I know how I’ll draw the treetops too, so I don’t feel the need to try and pencil them in. You can also see that there are parts of Kamiko I didn’t bother to draw because a word bubble was going to hide some of her petticoats. The last frame didn’t even contain the background because I would render it in high contrast before I drew the characters over it.
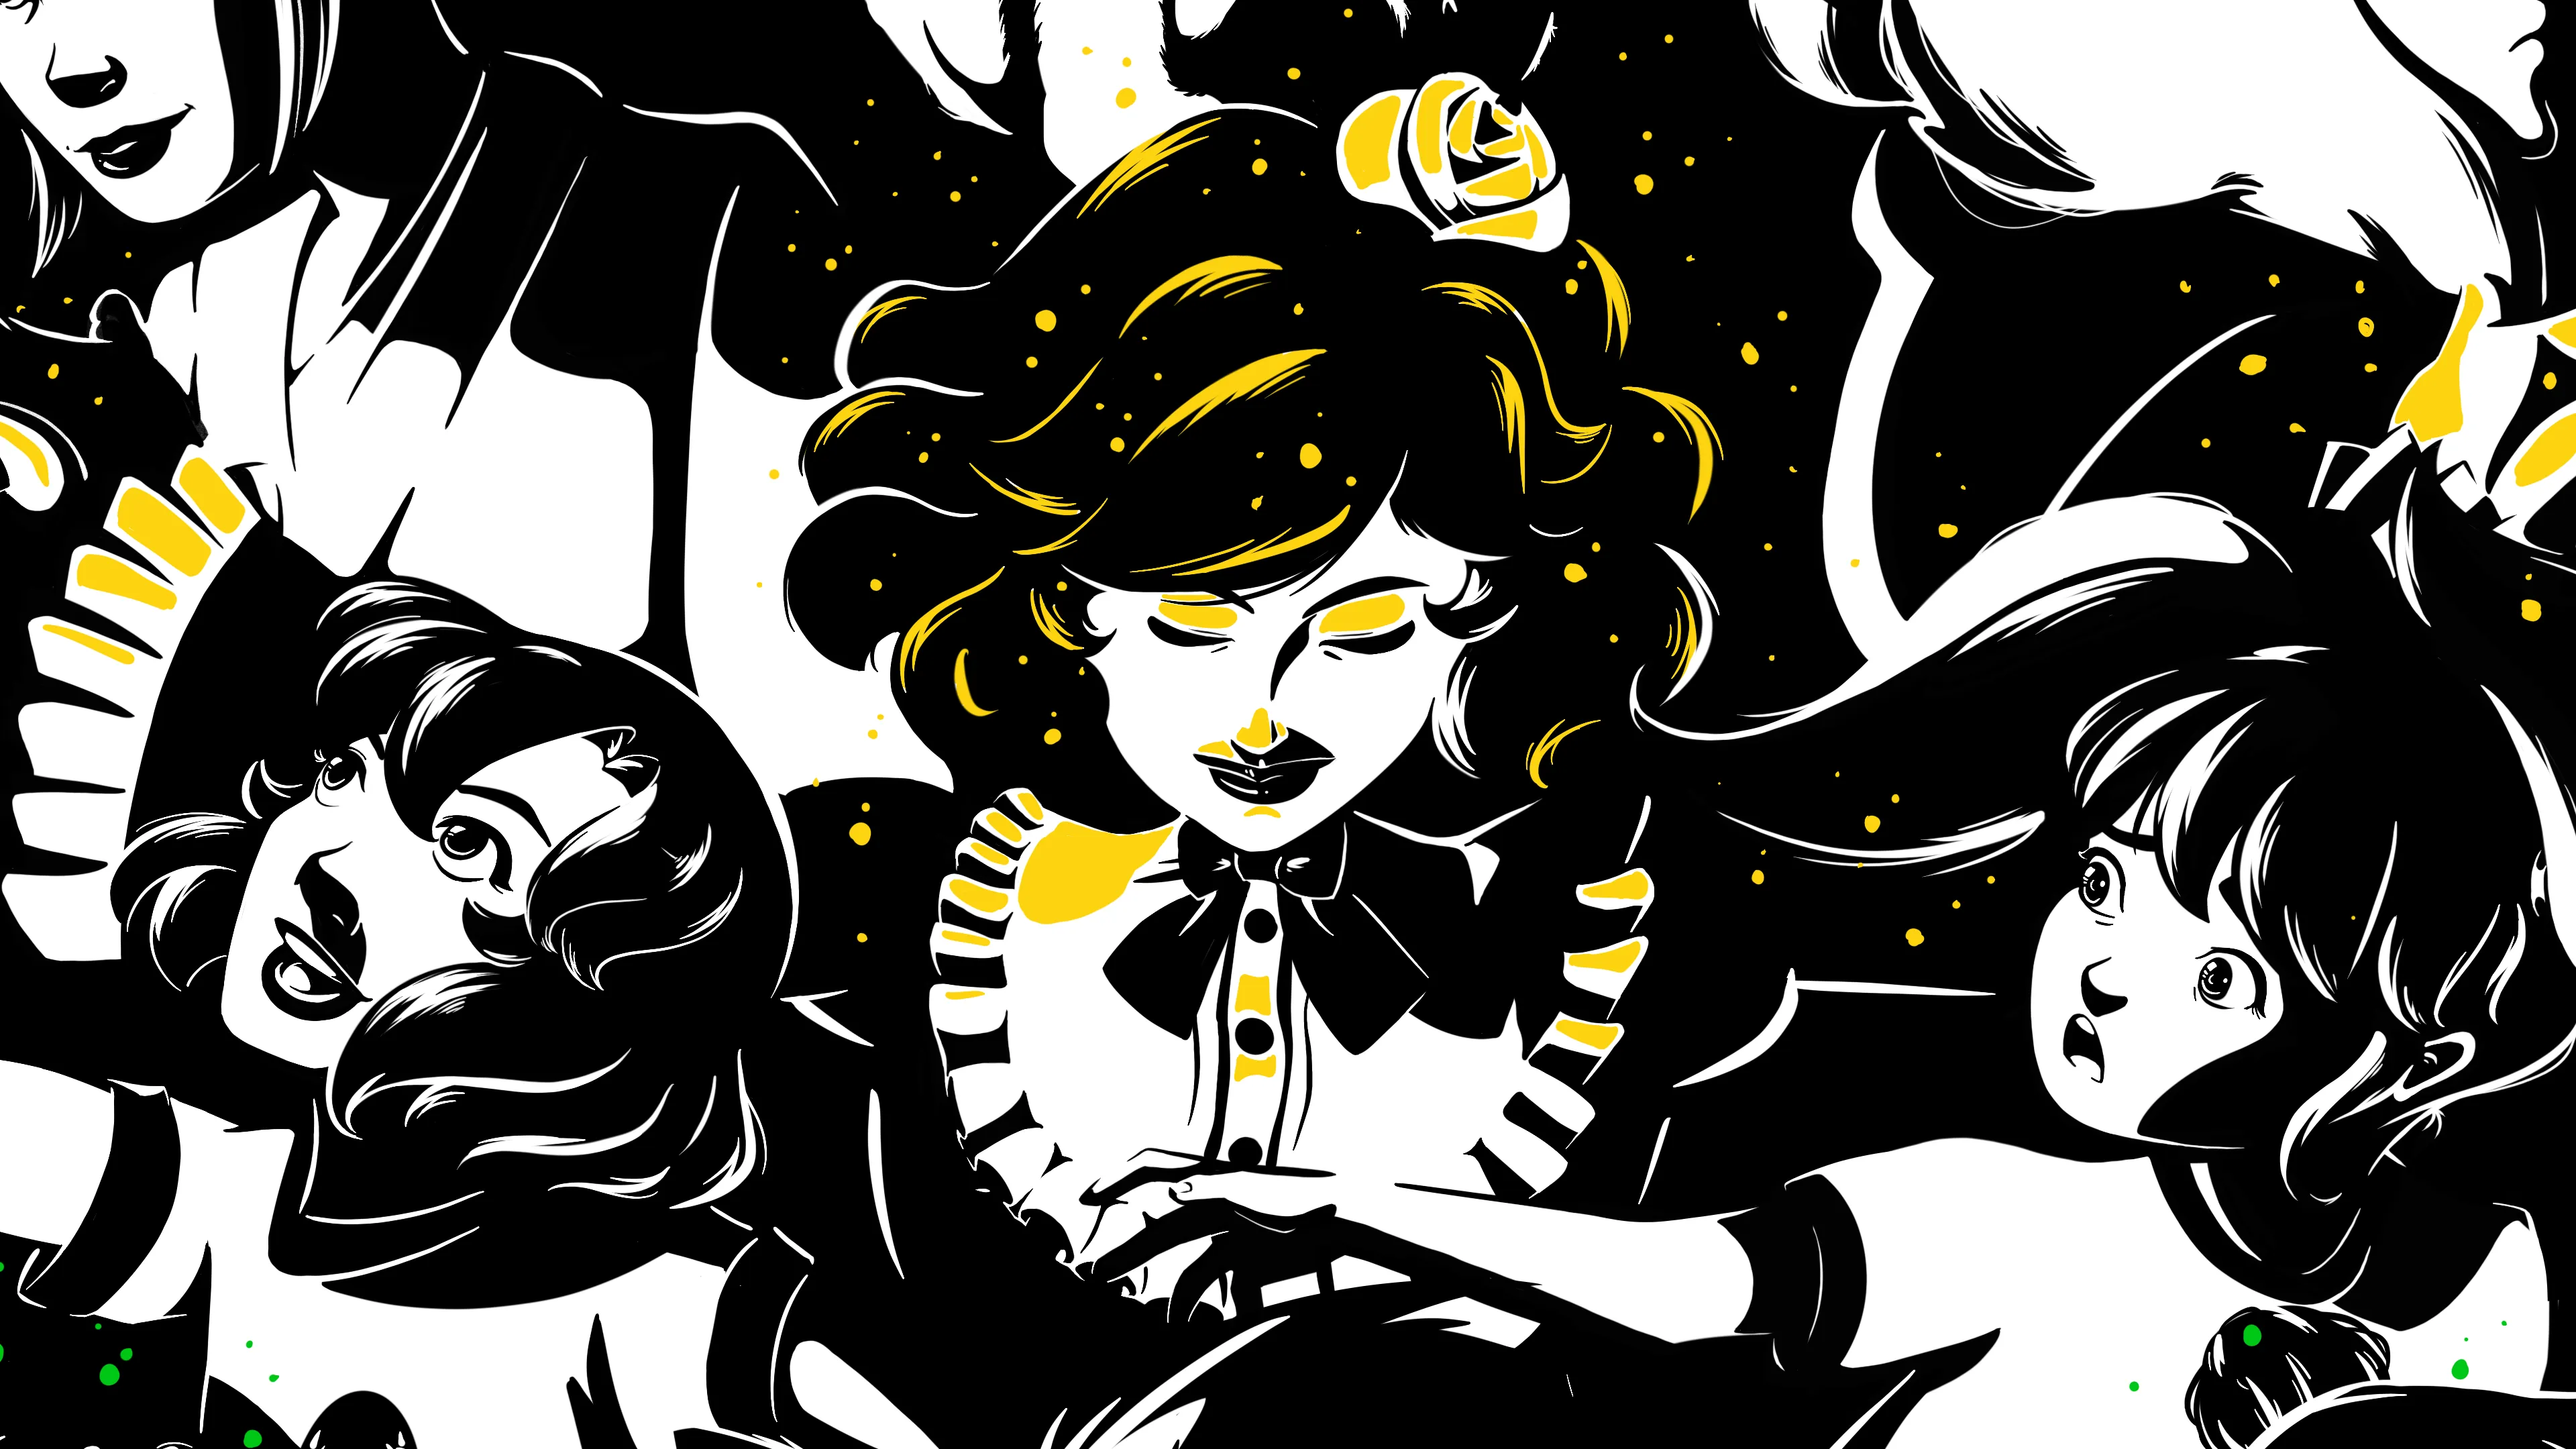
Blacking the page comes next and that of course is the image you see at the top of this blog post. I usually use the G-pen to outline areas to black and then use the paint bucket. I have a custom g-pen that also erases instead of draws and I use that and the magic wand to etch away white areas. I’m trying to avoid a traditional comic inked look as much as possible. If I need a thin line I’ll do it, but it’s to guide your mind to seeing the rest of the shape.
Painting Trees
When I started this comic, one thing was pretty clear about the story: it was mostly set in the woods. The first scenes set in ancient Japan were in the woods and mountains. Only one or two scenes took place in a modern house. This scene takes place almost entirely out in the woods around the town’s shrine.
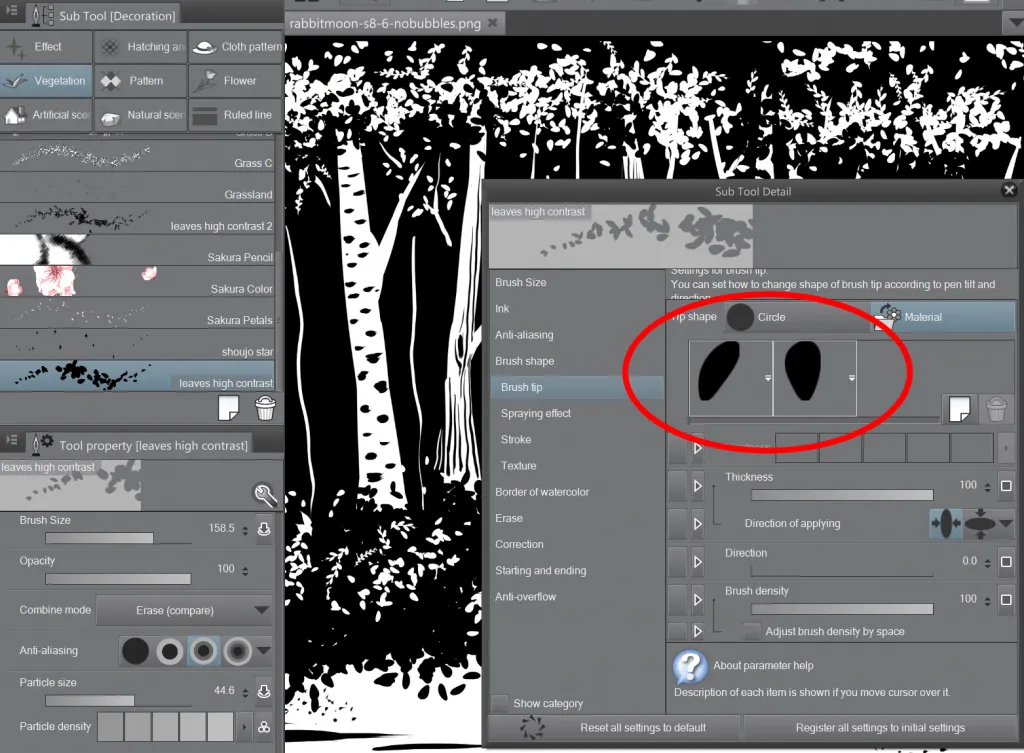
To help me draw bushes and tree tops I made a brush in Manga Studio. I created two oval shapes to represent leaves and then set the brush settings to scatter them and have them obey the pen pressure sensitivity. The idea was to Bob Ross the happy little trees together. I use the G-pen and etch in the tree trunks. In my case I guess I usually do a mixture of generic bark kinda trees and birch trees. I sometimes refer to images of Japanese forests to get ideas on what else I could be adding esp. to the undergrowth, but in this case it’s trees and shrubs with tufts of grass. I use my leaf brush and paint in clusters of happy little leaves. I leave the black to denote shadow and to give the clusters some form. Sometimes it works better than others. In the end, it’s really to sell the impression of the tree. Really, the whole concept behind the high contrast is to sell the impression of characters and things being in the frame, but they’re nicely made blobs of black in my mind.
I should really “up my game” with the leaf brush. It’s become more of a crutch than anything else. I created the first version of it a year ago, and for me, it works. I can easily dab in bushes and tree tops and that saves me a lot of time, but I’ll admit it’s not very expressive in terms of foliage. It might be good to have a little more variety. Before I go into production of the next chapter I might take a little bit of time and create those brushes.
As for the sound effects (sfx) text, I wrote the text onto a different layer using a different brush (it’s like one of those drafting millimeter sized pen nibs). I outlined it in white and called it a day. My vfx and sfx skills are pretty limited, so those are aspects to work on as I go forward.
That’s all for this page!