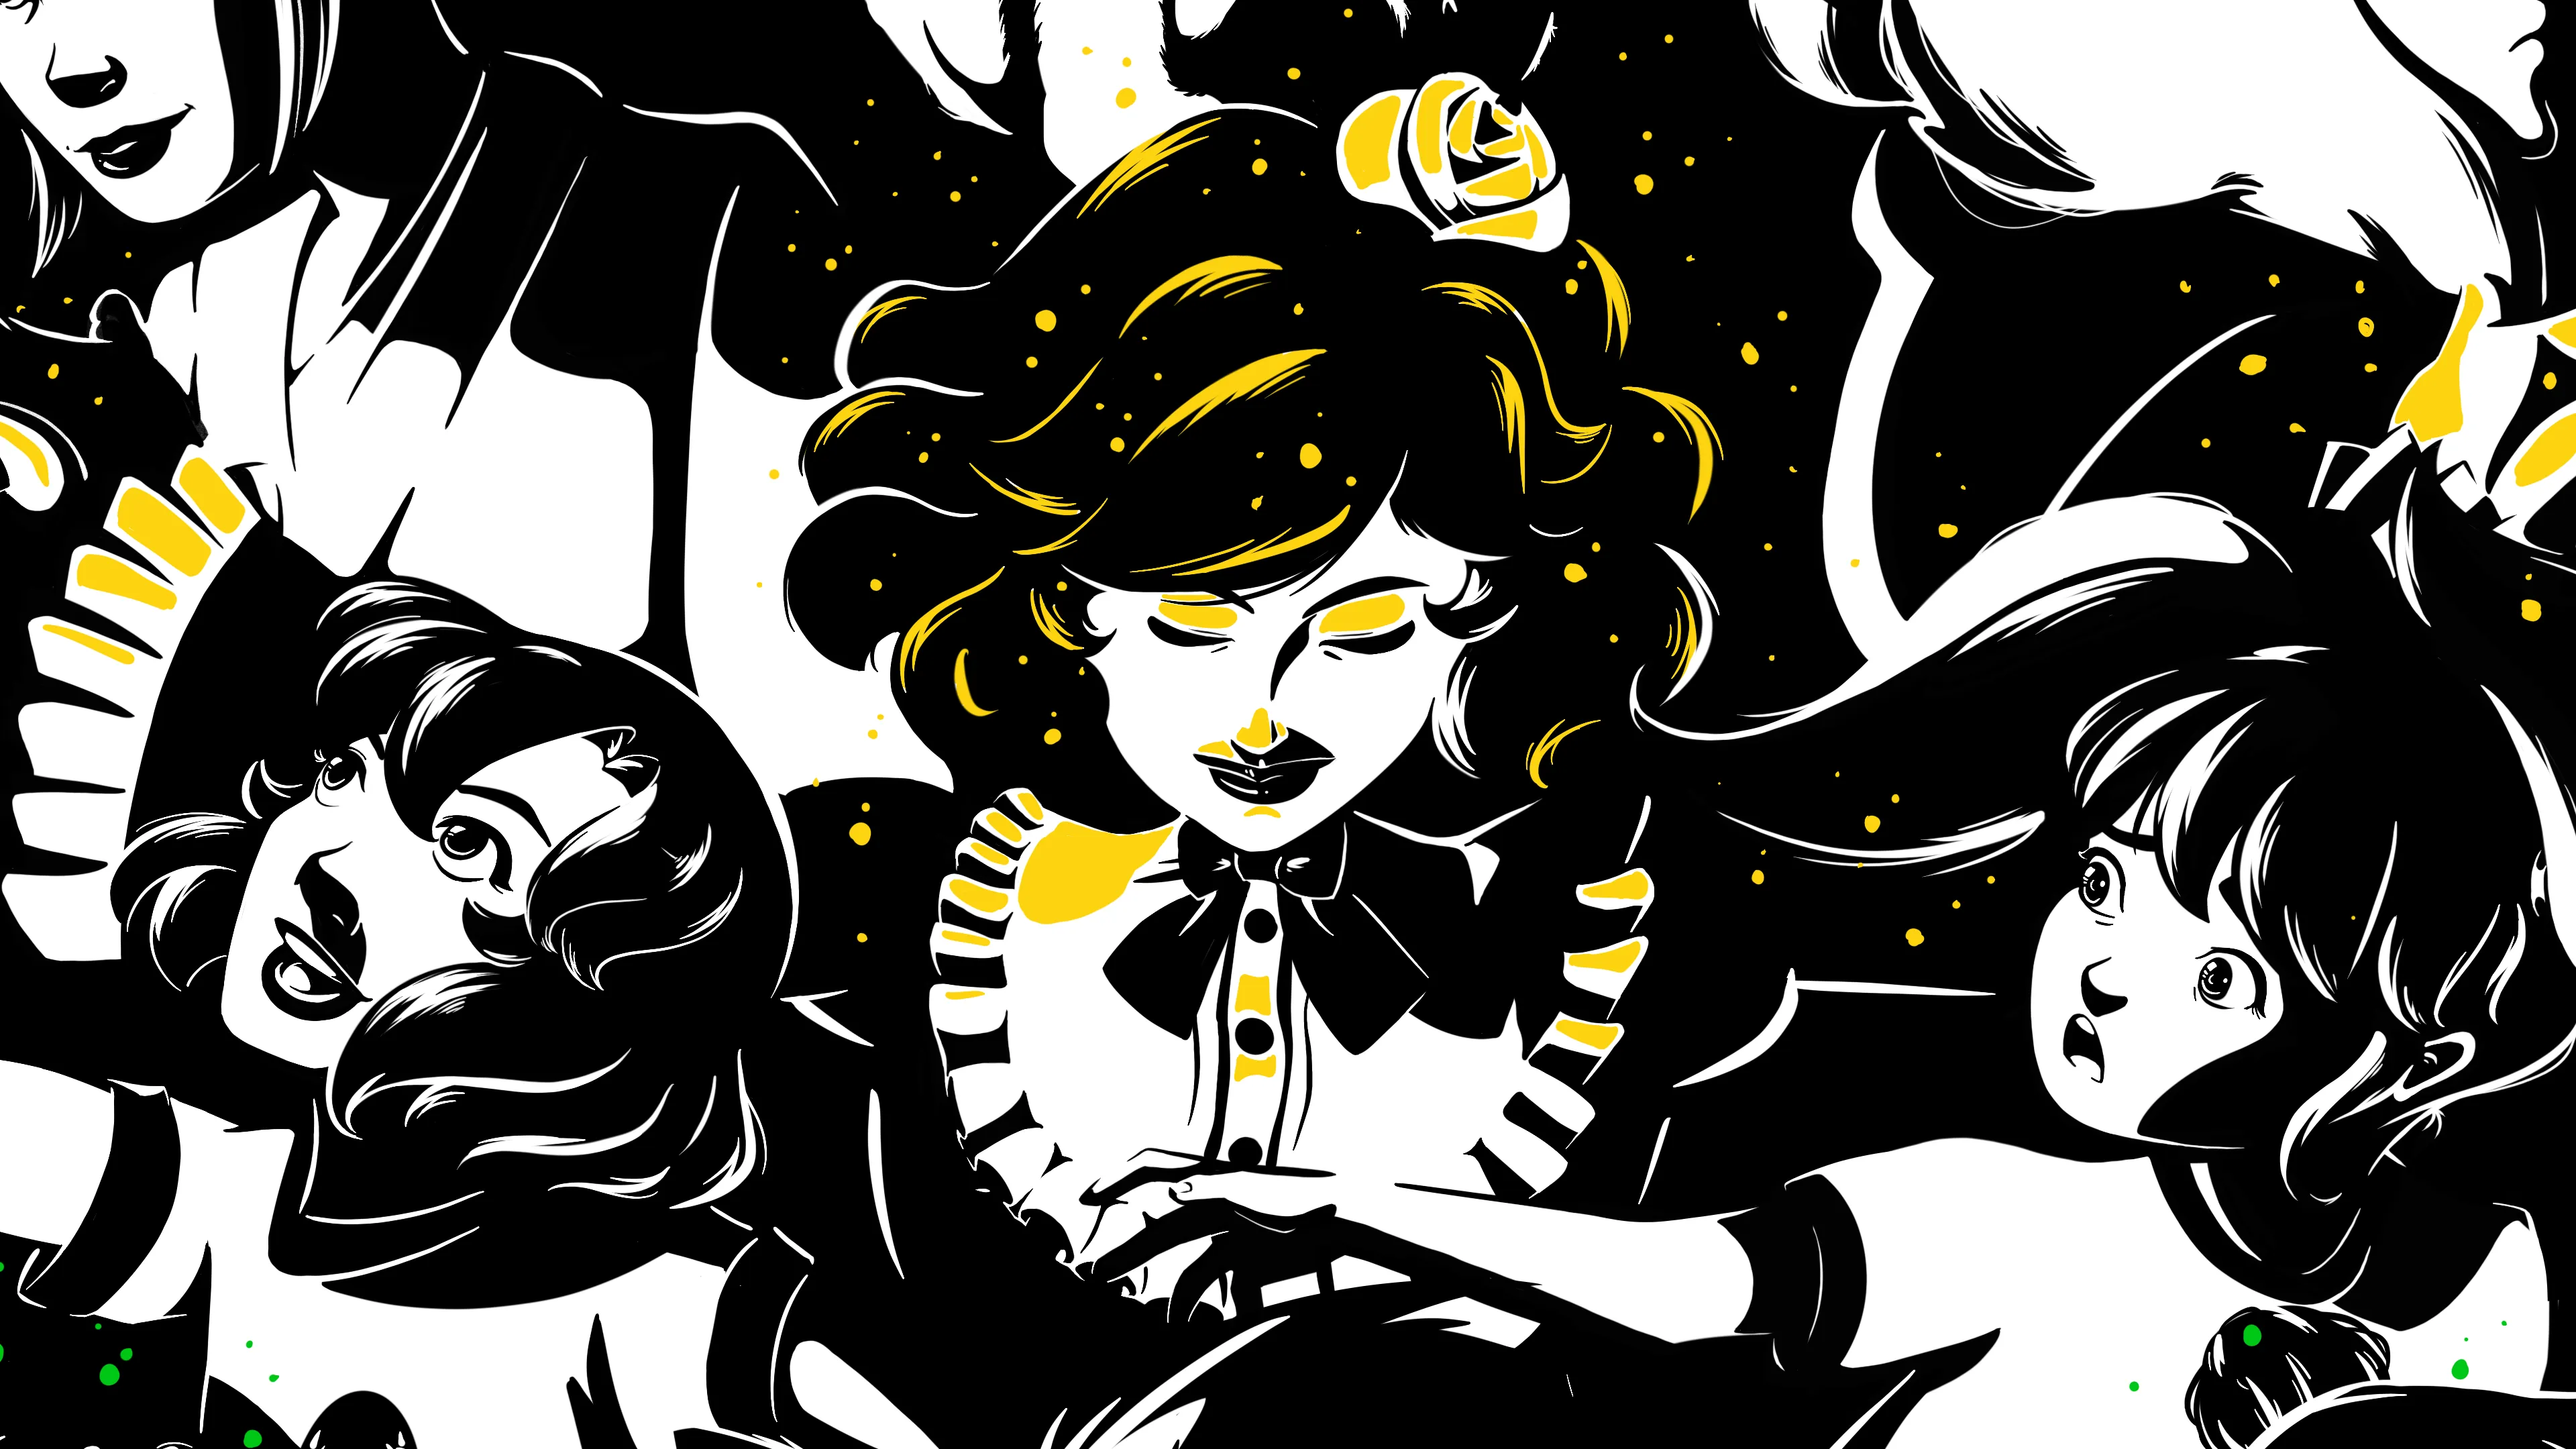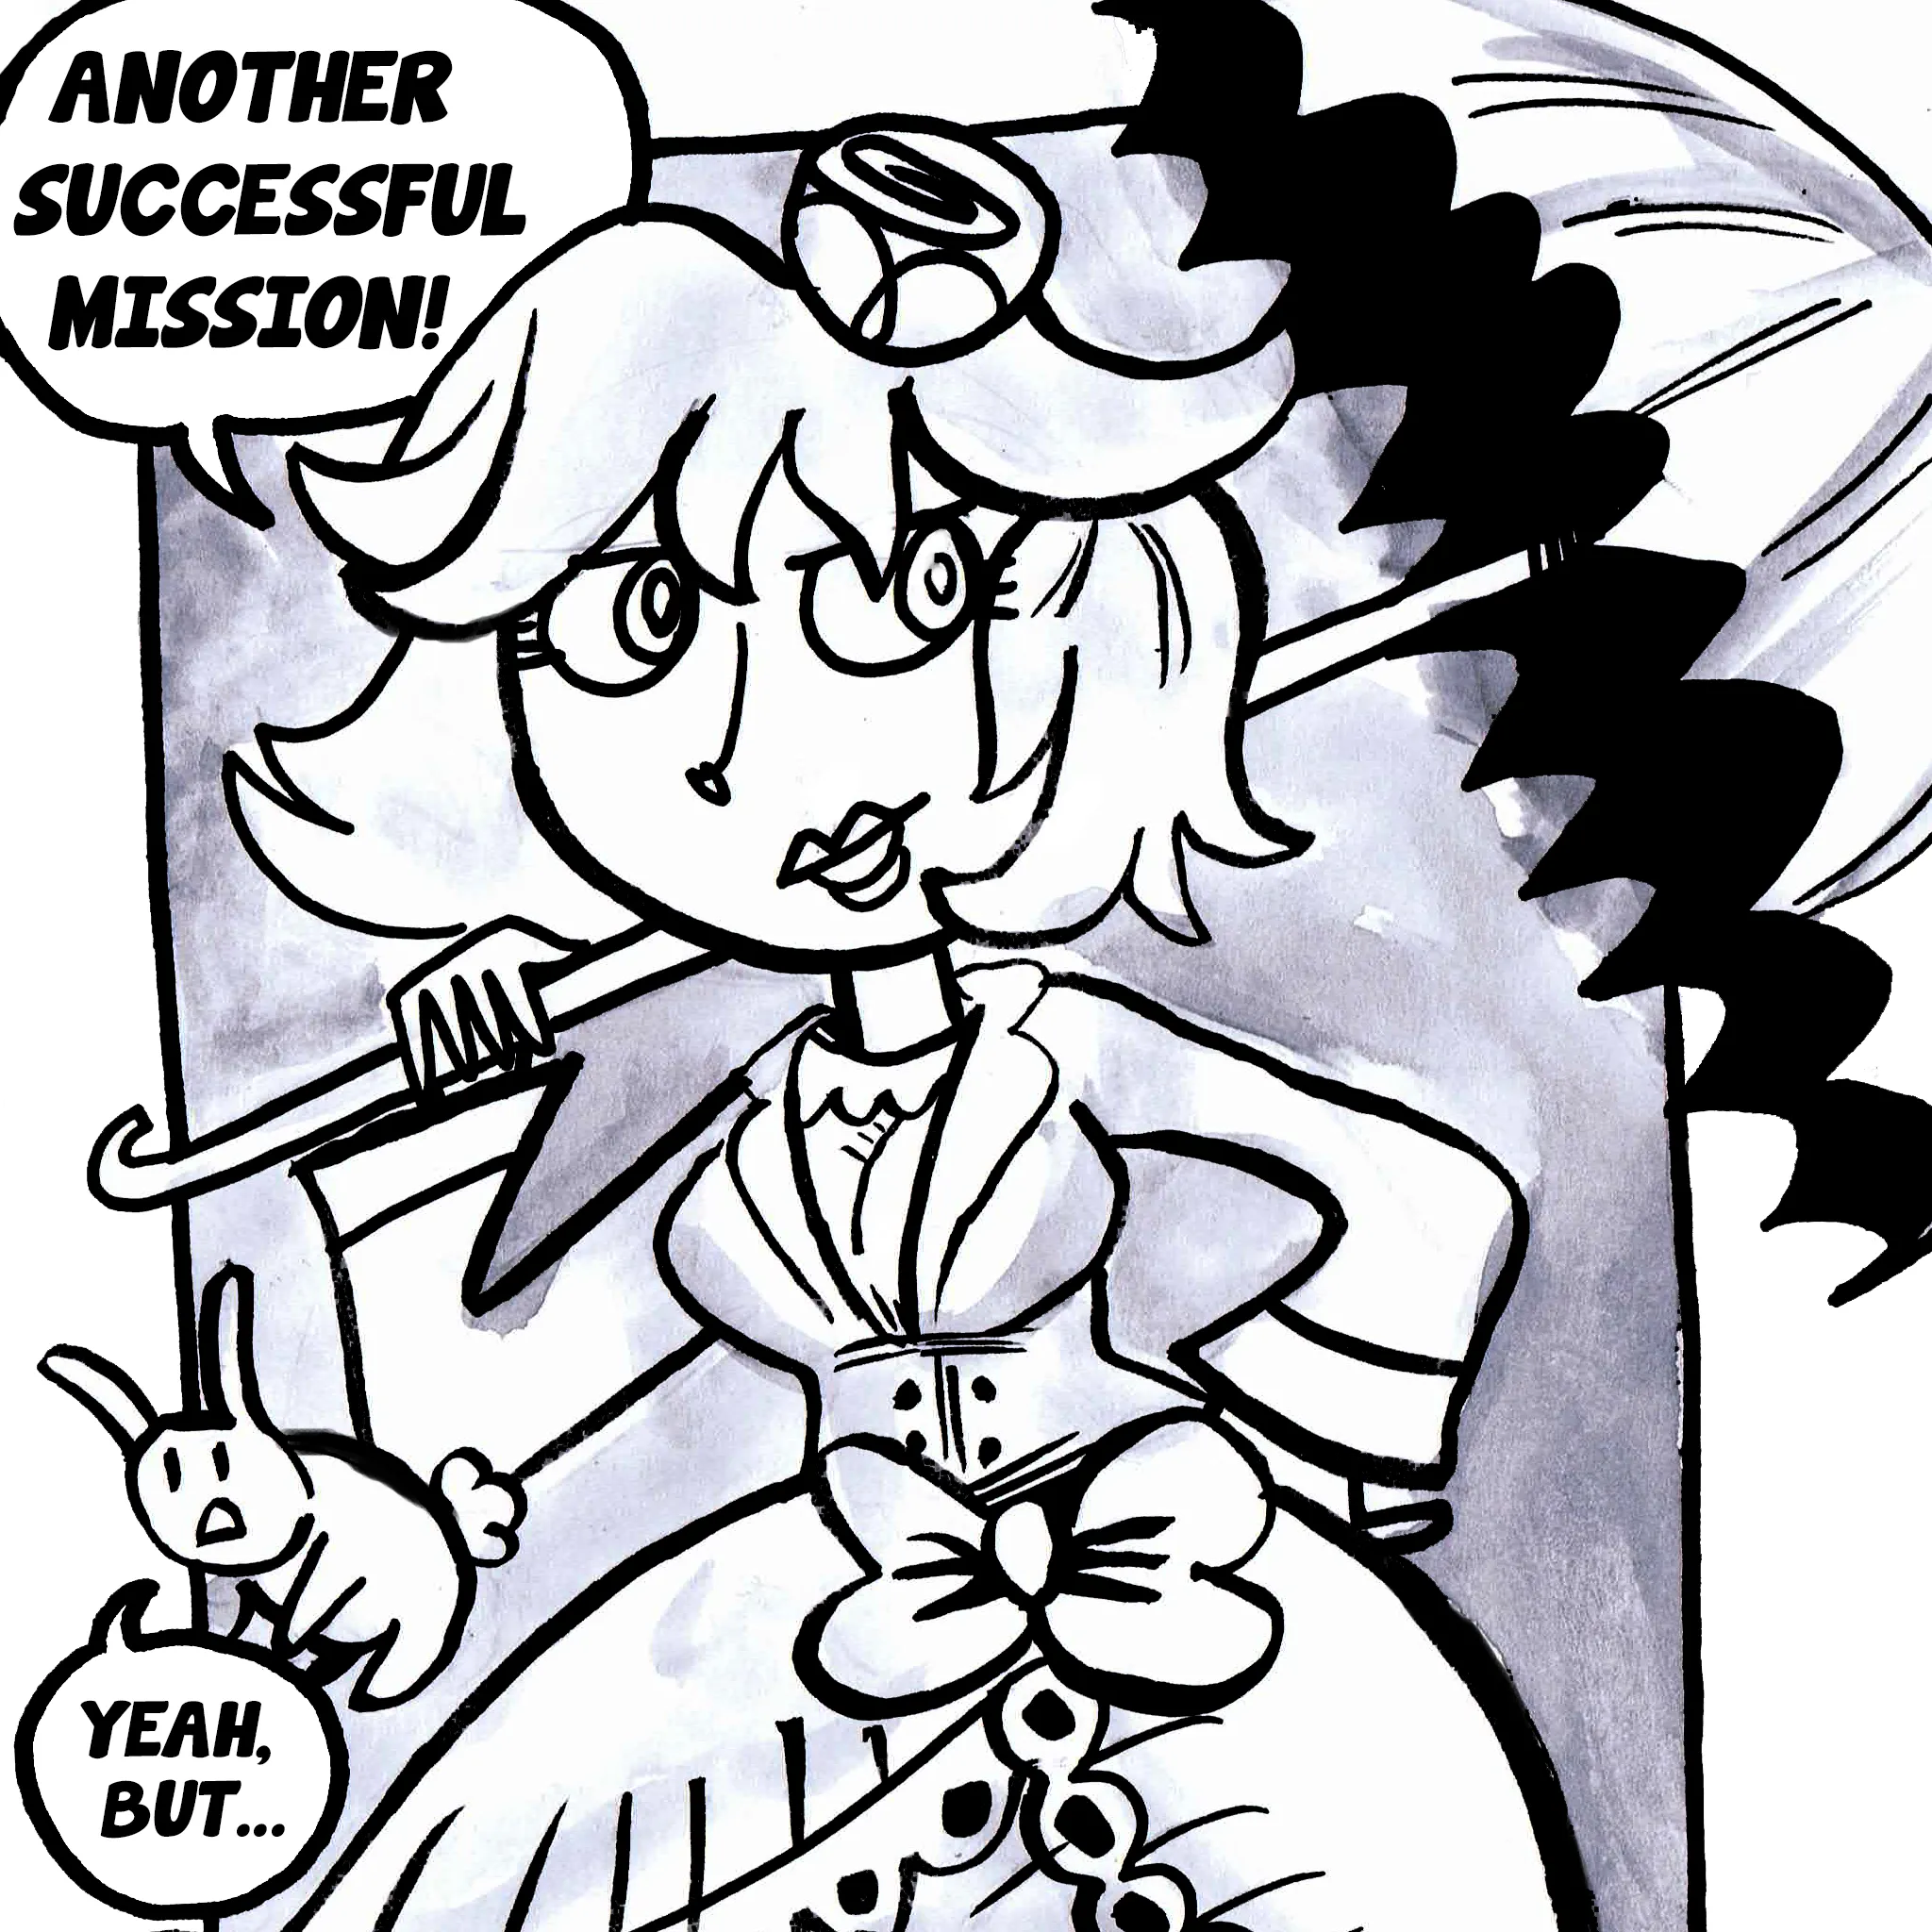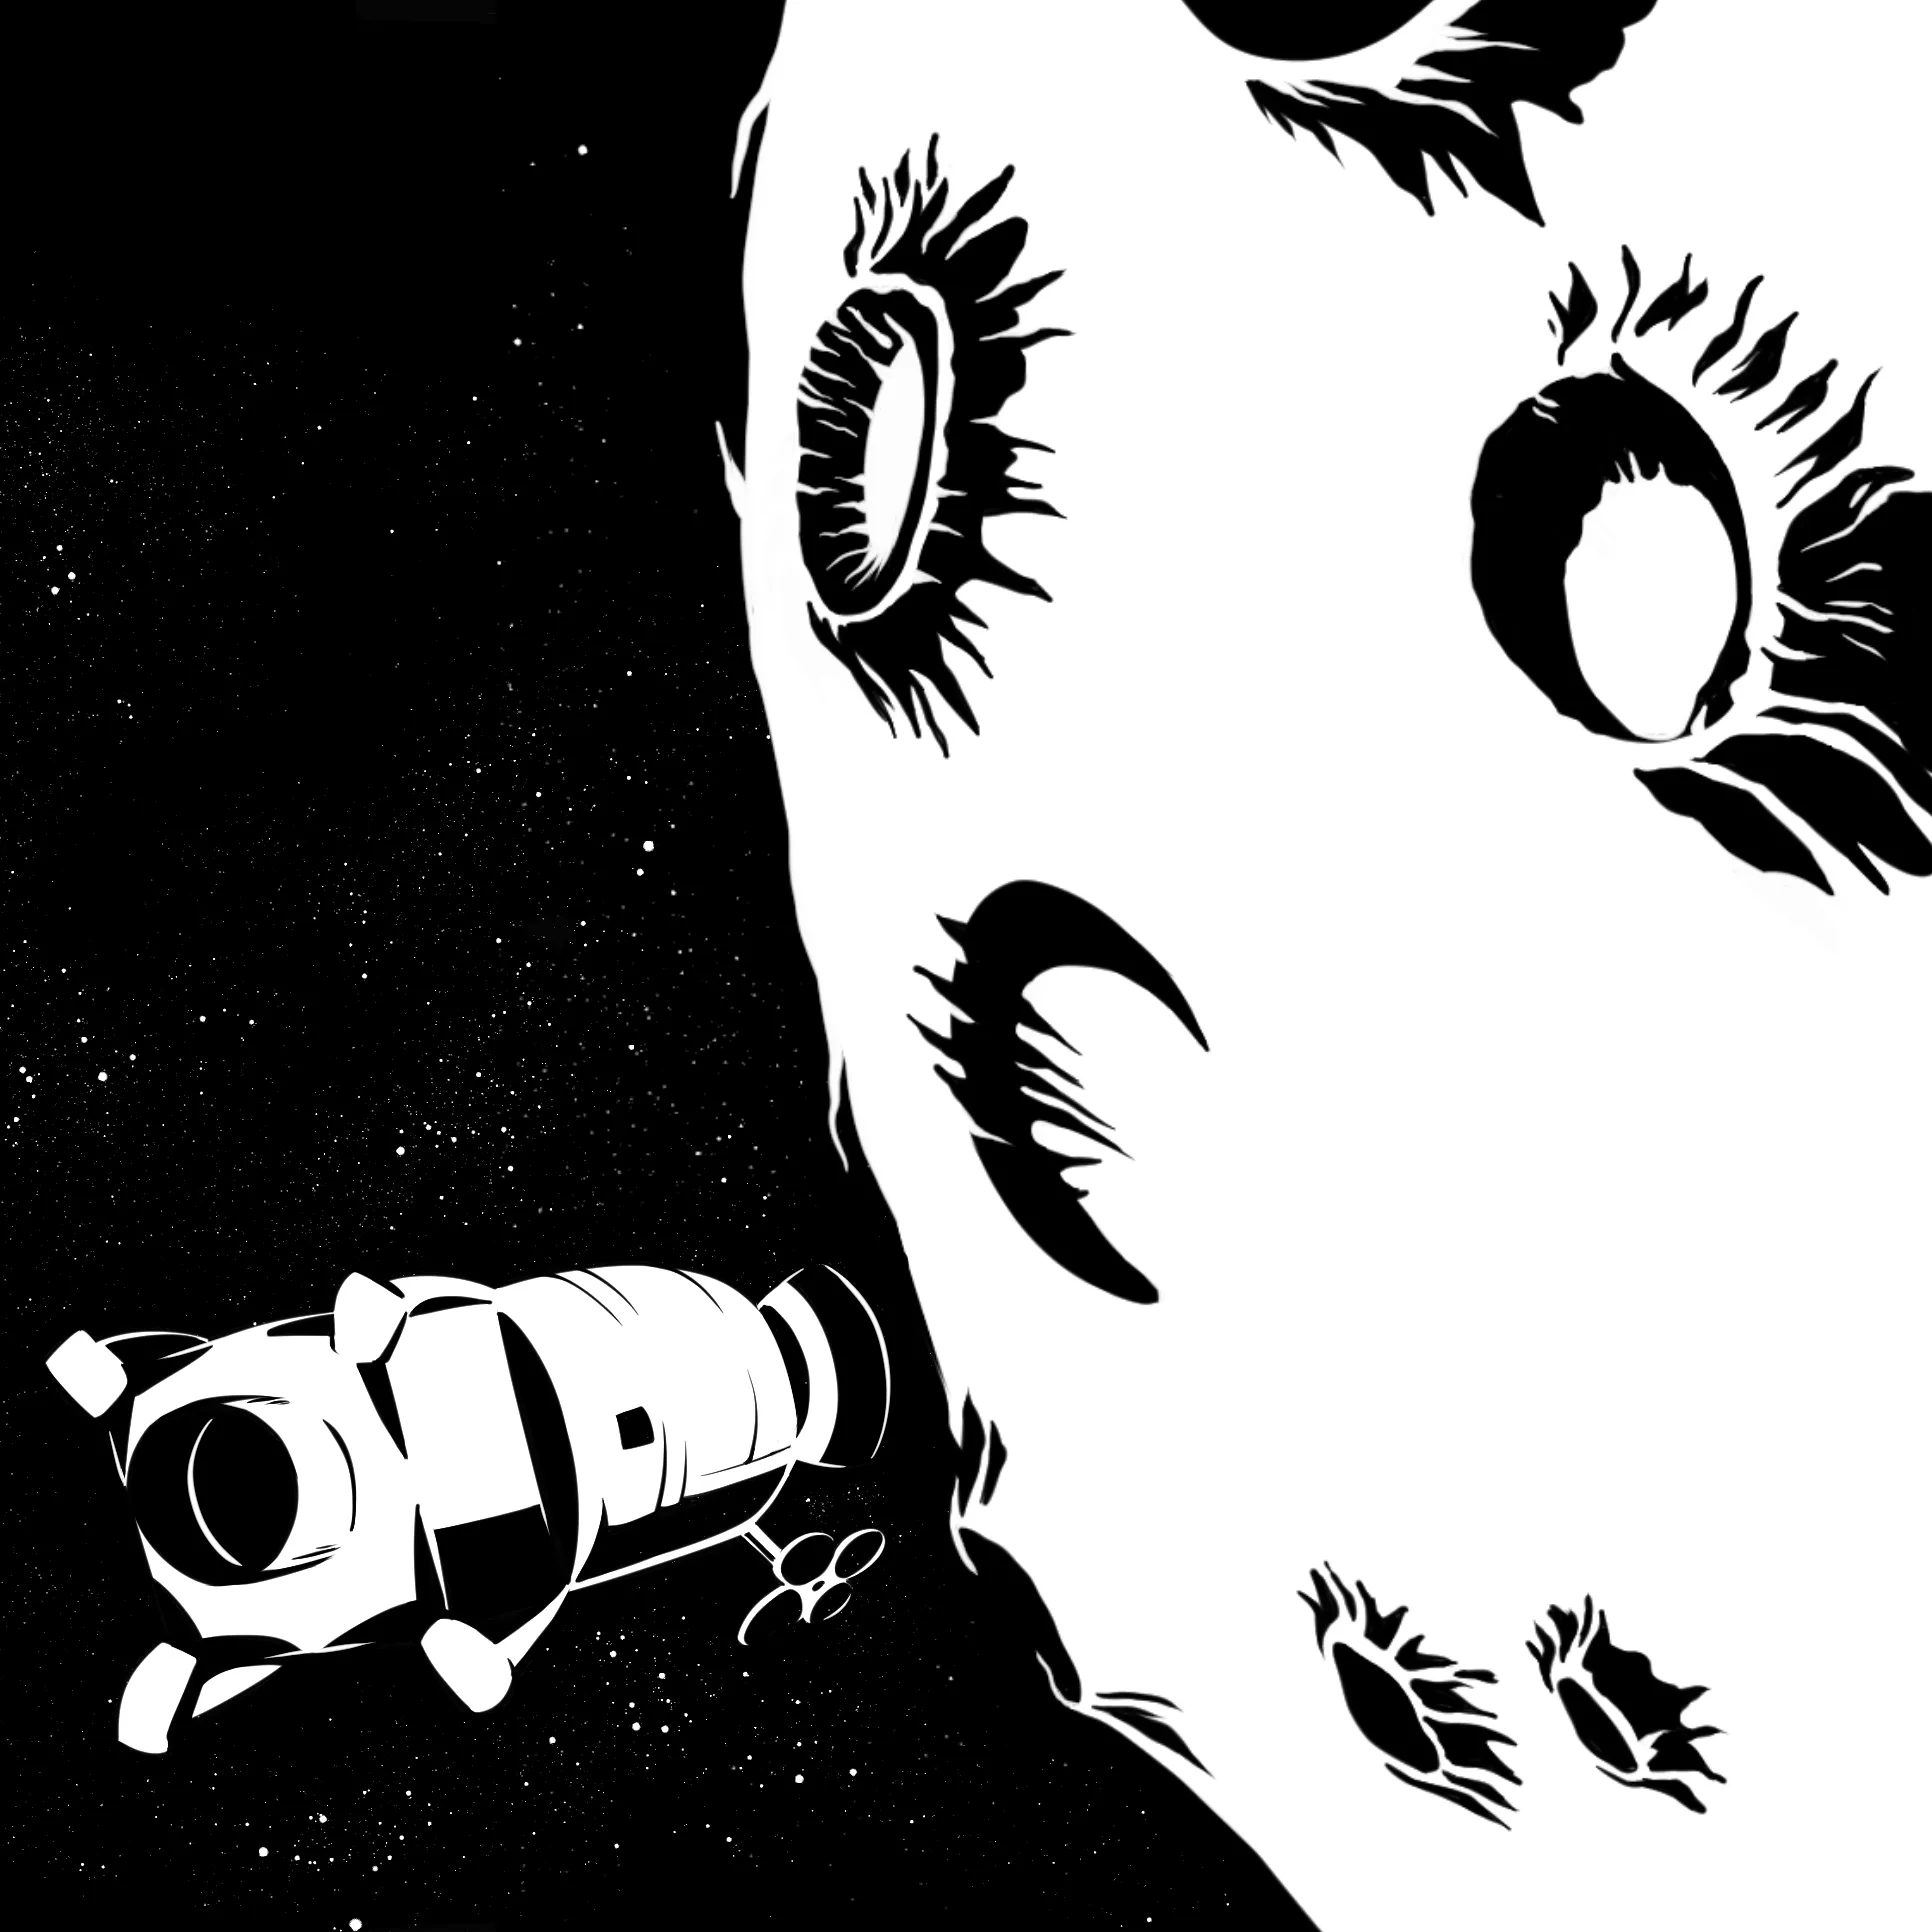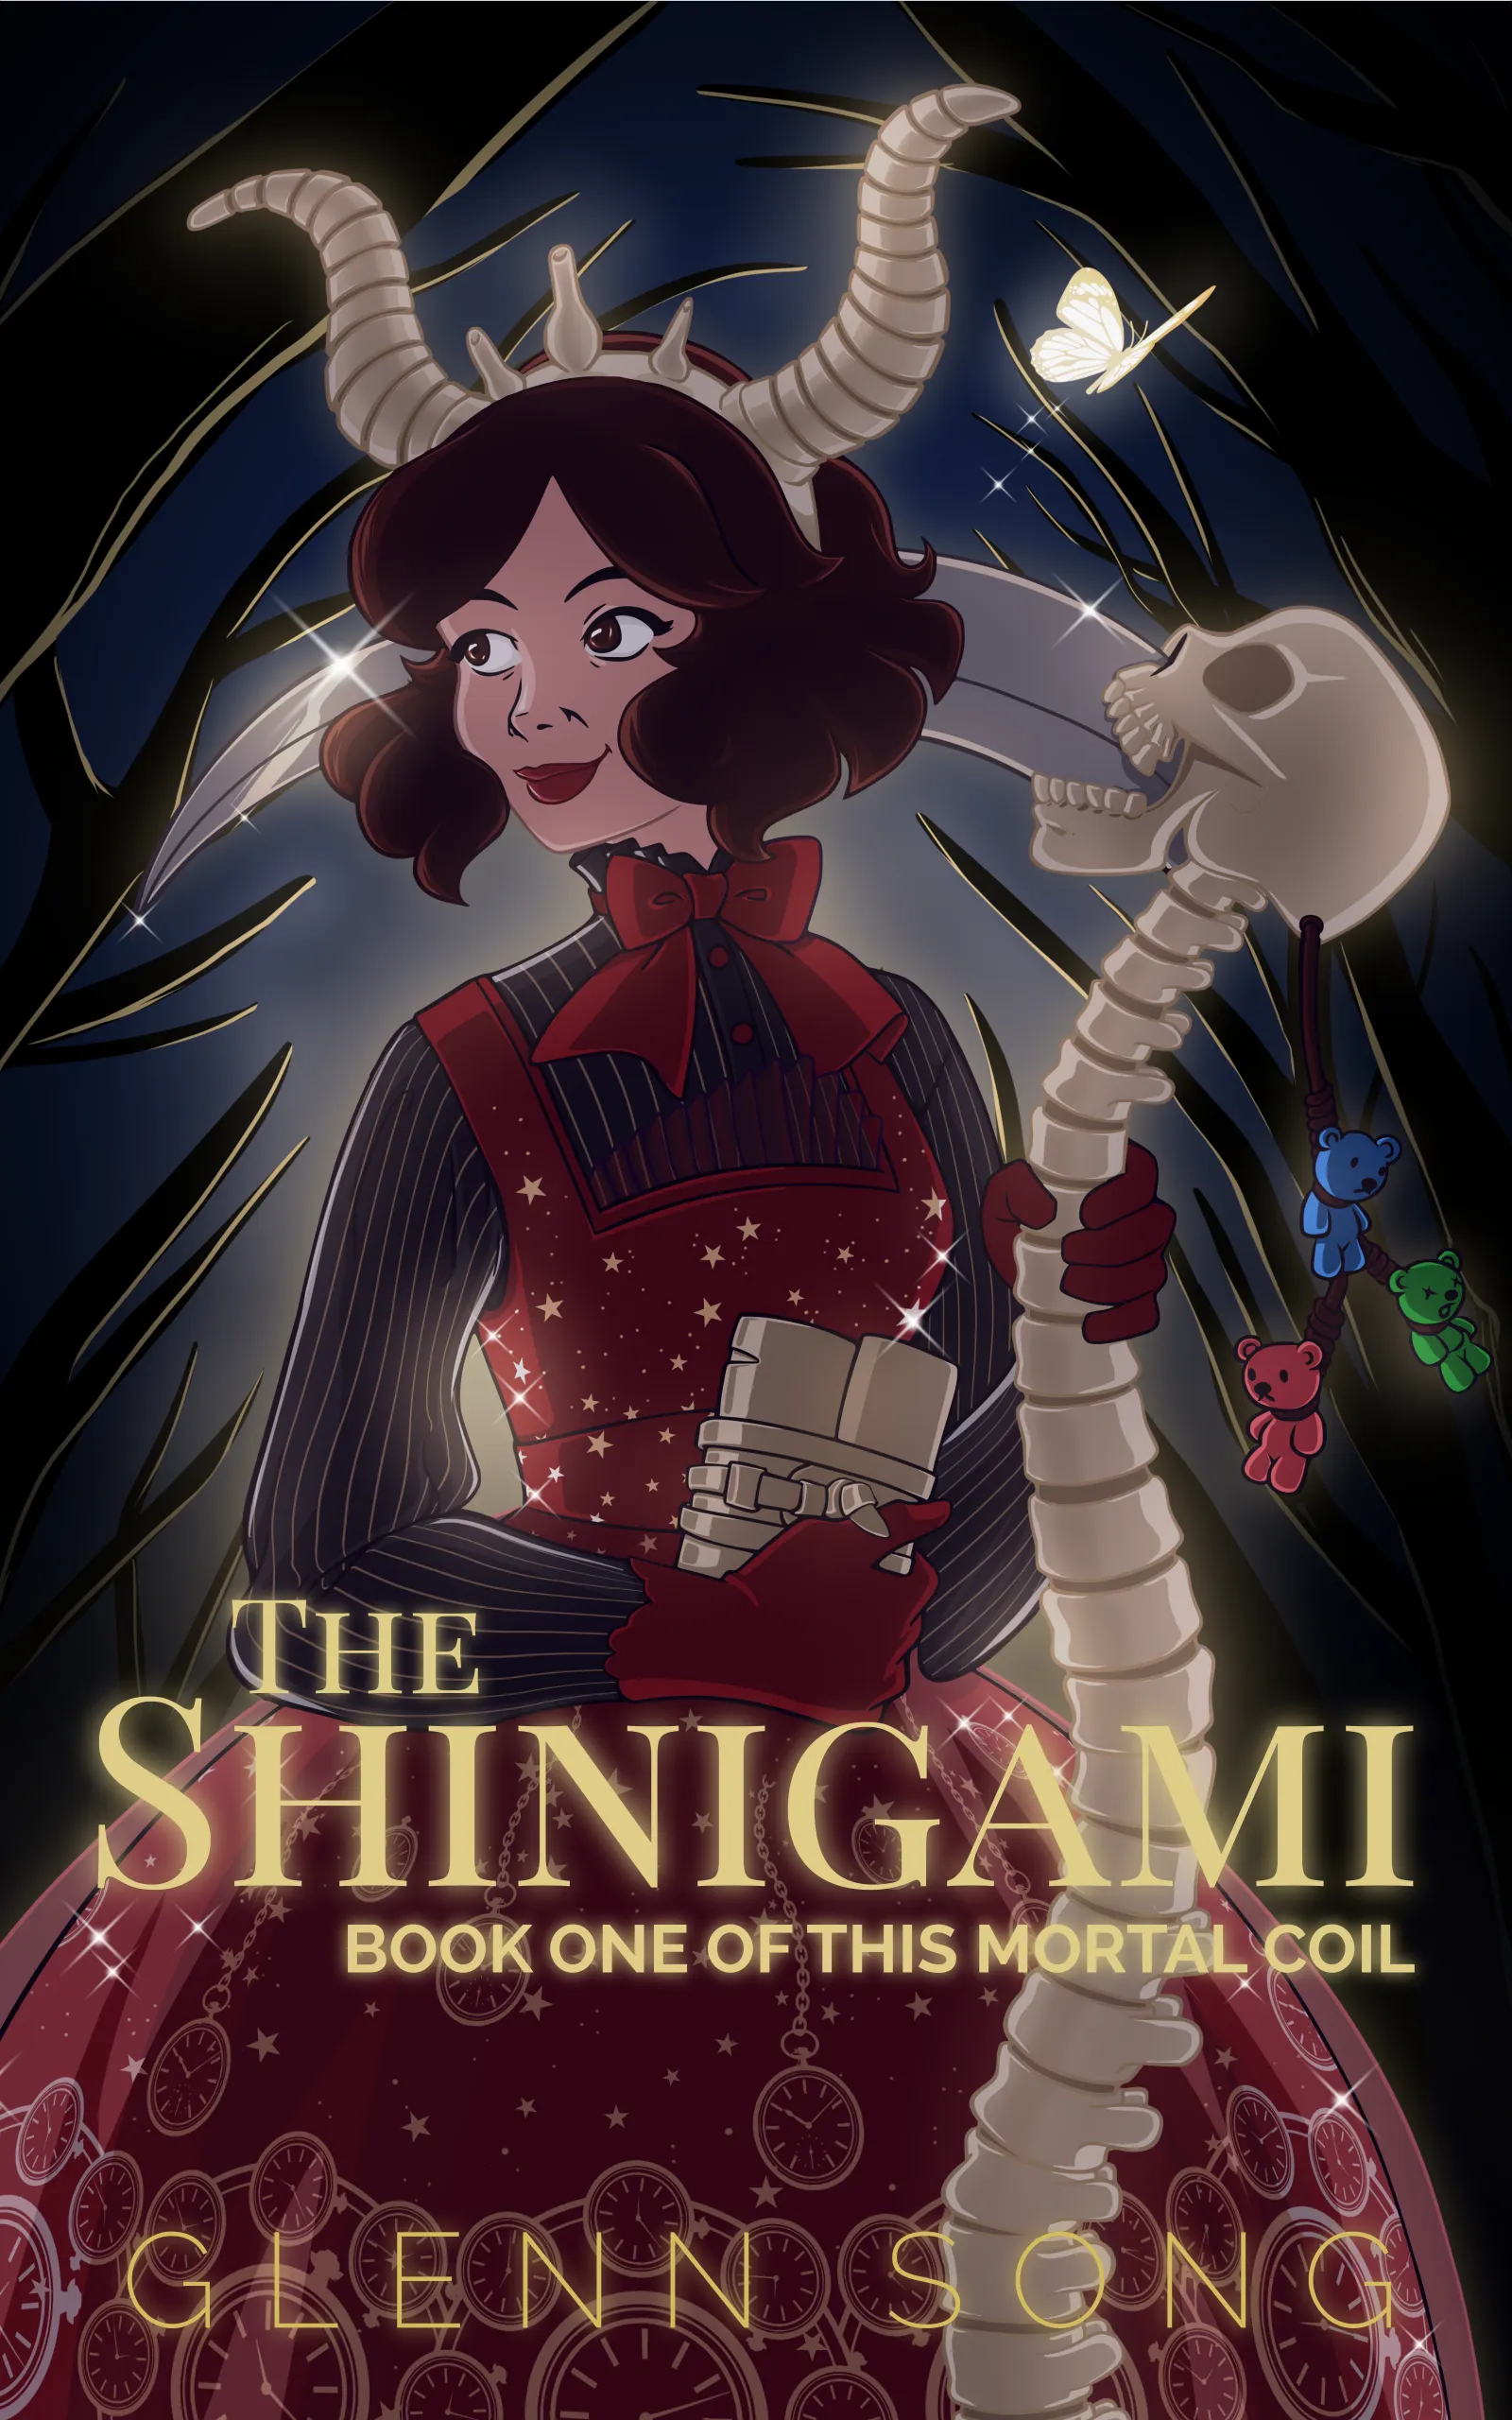
Heyo! I recently updated The Shrine! I wanted to share a bunch of non-photorealistic rendering shader node setups I came up with while using Blender Cycles and explain what I did and why.
Rendering Goals
My goals for the new version of The Shrine were to use more color while keeping it high contrast.
There were two criteria I wanted in a final rendering:
- The ability to render light and shadow areas independent of a light source. When I illustrate the comic, there are some places where I put shadows that don’t make physical sense because it’s not based on a light source. It’s just based on what looks good/best for that scene. So I wanted to emulate that here. One side of the Shrine is always in shadow to make it more 3D.
- An actual light source. The light source would be used to cast actual shadows over the Shrine and to help me deal with the dynamic day/night cycle I wanted to create and render out.
I only ever got #1 to look decent, but I have many different approaches and partial solutions to #2, but they didn’t fit what I envisioned. After a lot of experimentation, I didn’t have a great way to get the mixture of shadows I wanted. I also thought it probably wasn’t important enough to devote so much time too.
So, I cut my losses and went with what I had. There will be another chance to experiment and improve down the line.
The Shrine’s Non-Photorealistic Rendering Node Setup
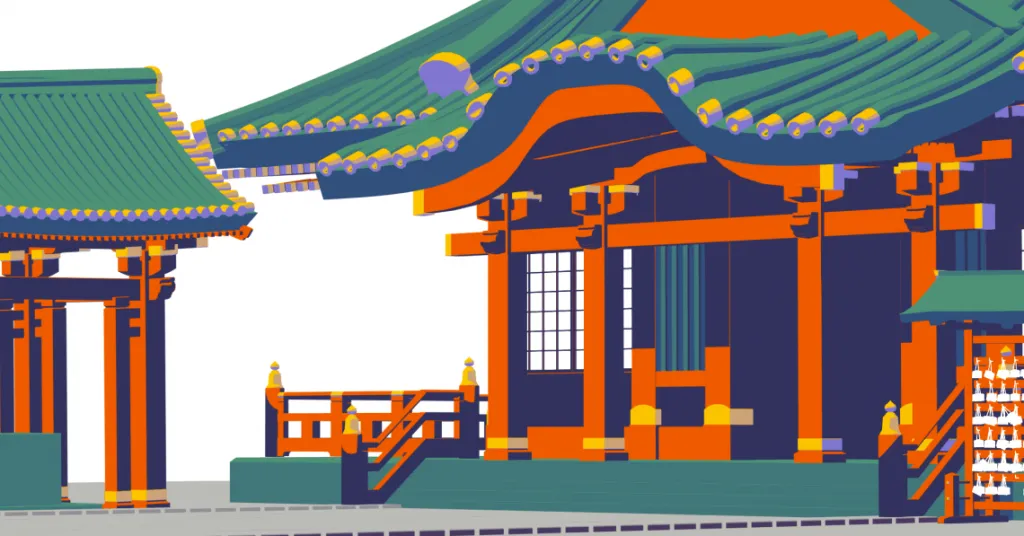
Here’s the shader node setup for the render above. You may have to click on this image to read the node setup.
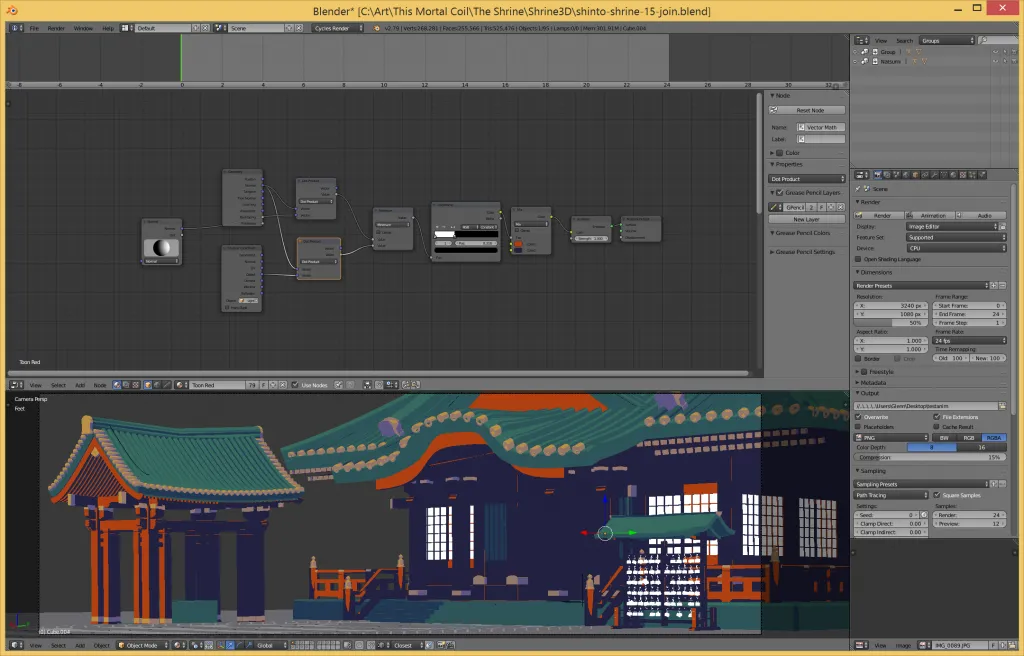
There are two “light paths” in this shader setup. I put “light paths” in quotes because I basically failed the #2 criteria I was after. I couldn’t find a way to get the physical shadows I wanted. The first light is based off a normal direction (node with the sphere all the way on the left).
I do a manual N dot L calculation to determine what’s in shadow and what’s not using that normal.
There’s a second normal controlled in the scene. I animated to create a day/night cycle. In this case it’s also a plane that represents another normal that I’m taking the dot product of.
The idea was to marry the color of the fake shadows with the light/shadow from the day/night cycle. Ideally, if I could find a solution using the physically-based renderer that I liked — that is, the physical shadows are also the same blue color, then I could marry those together and get what I wanted.
I don’t know how realistic that is or if I’d even actually like it, but it’s what I want.
Shade Node Explanation
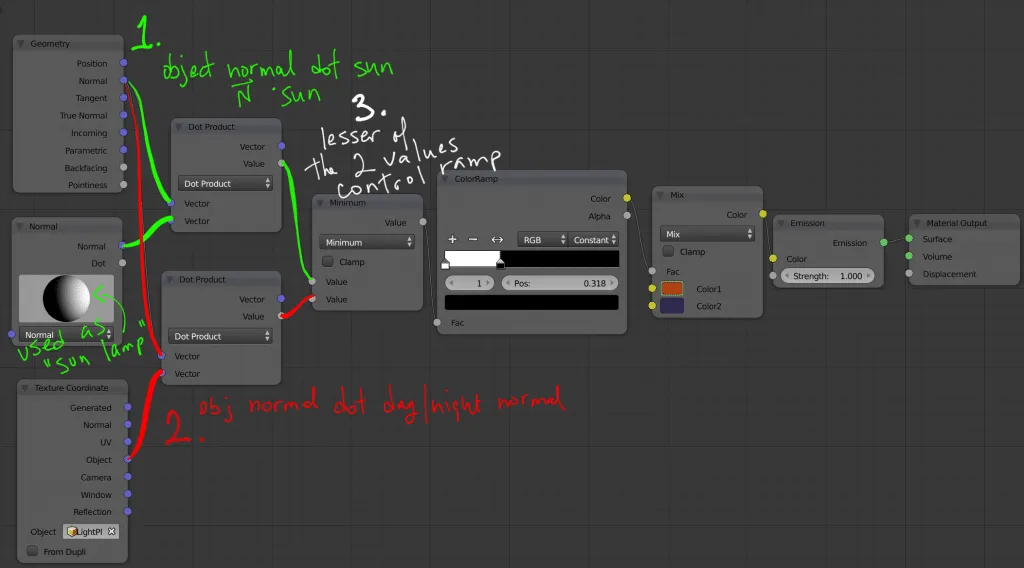
#1 and #2 from the image above are my two fake light paths. The first (green lines) is controlled by a normal that works like a “sun lamp”. It gives me a normal direction and I dot product that with the geometry’s normals. The red lines are controlled by a normal I’m using to help “cast shadows” for the day/night cycle. I take the dot product of that as a second light source.
Usually you’d mix these together and then get your shader, but I didn’t like any of the blend results. One color would end up washed out or everything would appear a totally different color. What I really wanted was to have the light and shade colors to be accepted without any kind of mixing or blending.
To do that I used a Minimum math node.
The minimum math node acts like an OR comparison. It looks at my normal light path and the day/night light path and picks the minimum dot product to feed into the color ramp. The ramp then determines what the color is.
It’s probably unnecessary to separate out the actual color from the color ramp, but I originally wanted to group these nodes together and be able to feed those colors in, but I couldn’t get it to work properly.
For the color to show up in the scene, it needs to be passed to an Emission node and then applied to the surface.
NPR Shader Node Tips
That’s one of the major things I learned about shader node setups in Blender for NPR. Ultimately, I want a color on a surface. I don’t care about diffuse or specular.
Yes, Cycles is not meant for NPR since the entire concept of the engine is to shoot photons of light into a scene and render it as realistically as possible, and I want the opposite, but I already started down the path of Blender Cycles, so I took the challenge to keep using it. Plus, Cycles has access to a lot more shader node options and also, writing OSL scripts seemed to be another option for Cycles.
A Cycles surface wants a BSDF (Bidirectional Scattering Distribution Function). Which is to say, you can’t output a color. Like I can’t just say, I want this shader to make that box red. It wants a function to determine how light will affect the surface — and hence why it’s not just a color but a material because a glass material versus diffuse material versus a velvet material will all render the 3D model differently.
If I just want a solid color then the Emission node is the only way to go.
Color Shifting for Day/Night Cycle
I tweaked and animated the lights for morning, midday, and evening.
You can do that by hovering over a color in the shader node and clicking the keyframe shortcut on the keyboard (‘i’ for keyframe). If you go to the animation view in Blender you can see all of the individual meshes that are getting affected by your keyframed color change.
In the morning I made the colors a little more yellow. In the evening I tinted them a little more red. Noon are the base colors, and of course at night I use colors tinted blue/purple. During the day the colors look fantastic, but I think I need to dial back some of the tinting. At night the Shrine looks flat, and I know it needs a lot of work.
But, the colors are okay for now. Not perfect, and eventually I’ll come around to reworking some of the lighting. As of right now I’m not sure when that will be.
As I experimented to build this shader setup, I came across a lot of other interesting NPR effects. I’ve cataloged them before if you’re interested in some other shader setups.
Blender Compositor Setup
Blender’s got a great post-render compositor tool too. Here’s a sample render and image output I did using it as another way to get NPR shading.
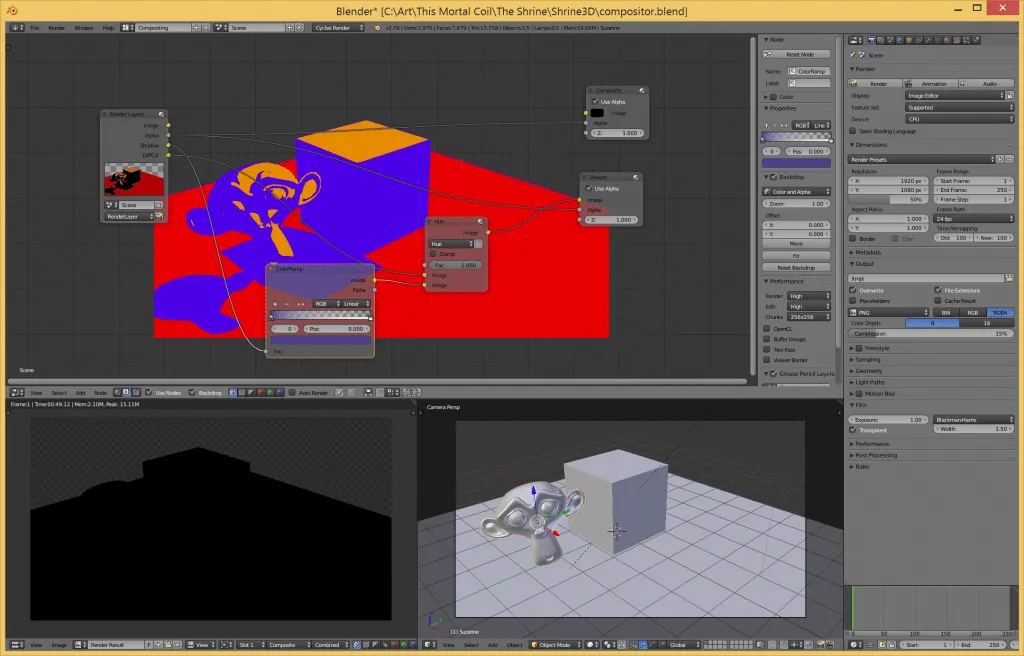
So the shadows and high contrast shading are correct! I wanted both of them the same color and this composite node setup worked.
So what’s the problem? Why didn’t I use it?
I didn’t use this because it was too jaggy. When the shadow colors were modified via that compositor node setup, it didn’t blend well with the underlying render and it produced a lot of aliased edges. The original Shrine renders had a lot of aliasing issues and I’m trying to get away from that.
How this works: In the Render Layer I had it create buffers for the diffuse color and a shadow buffer. I used a color ramp on the shadows and mixed it with the base shadeless colors and came up with the final image.
I tried mucking with RGB curves and all kinds of compositor nodes to change the color of the shadows, but the best way is to take a black/white image and feed it into a color ramp. The Hue mixer seemed to give me what I wanted. The colors maybe slightly off, but I overall liked it.
Another issue, and this will require more experimenting: how difficult will it be to setup the different render layers? For the Shrine, I have many different colors and it seems like I’d have to separate the 3D model onto different Blender layers. I might have to render 8+ layers and then make a complex compositor setup to get the final output.
It seems really cumbersome.
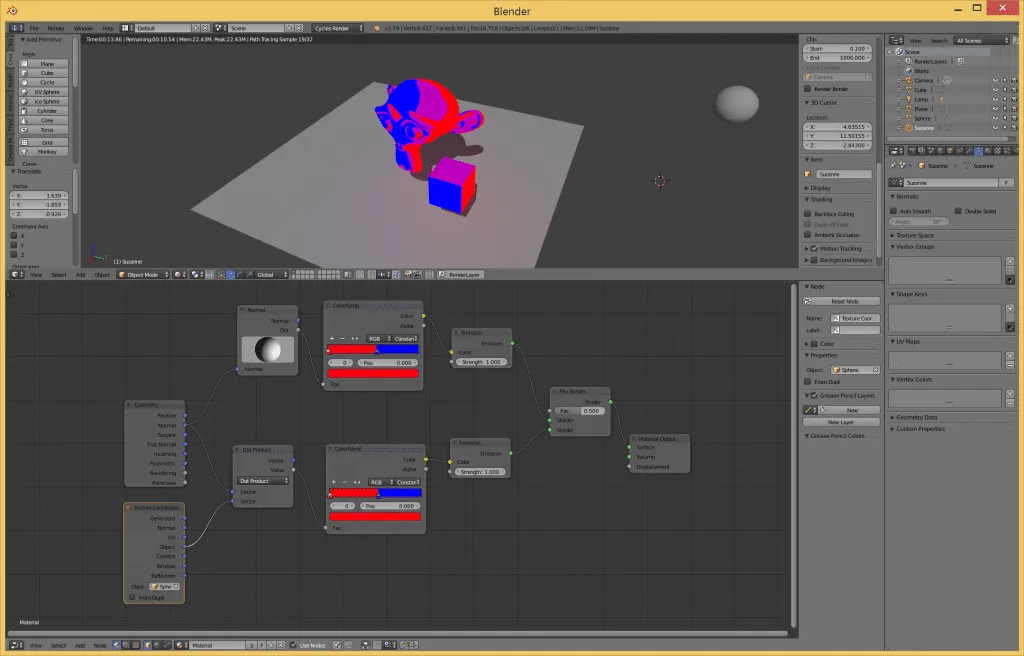
The Obama Hope Poster Shader Setup
This style of rendering reminded me of the famous Obama Hope poster. You can see the shader node setup below. This is a precursor to the final node setup I did for The Shrine. You can see it’s got two different “light sources” that it’s dotting together with the mesh normals. It uses a mix shader, and that’s what achieves the overlapping color effects on the 3D objects and gives it that vectorized Obama poster appearance.
I took the rendering further with a blender compositor node setup. The objects (i.e. monkey head and cube) were rendered to one render layer. Another layer had only the plane. This allowed me to modify the shadow color and mix the two layers together achieve the image below.
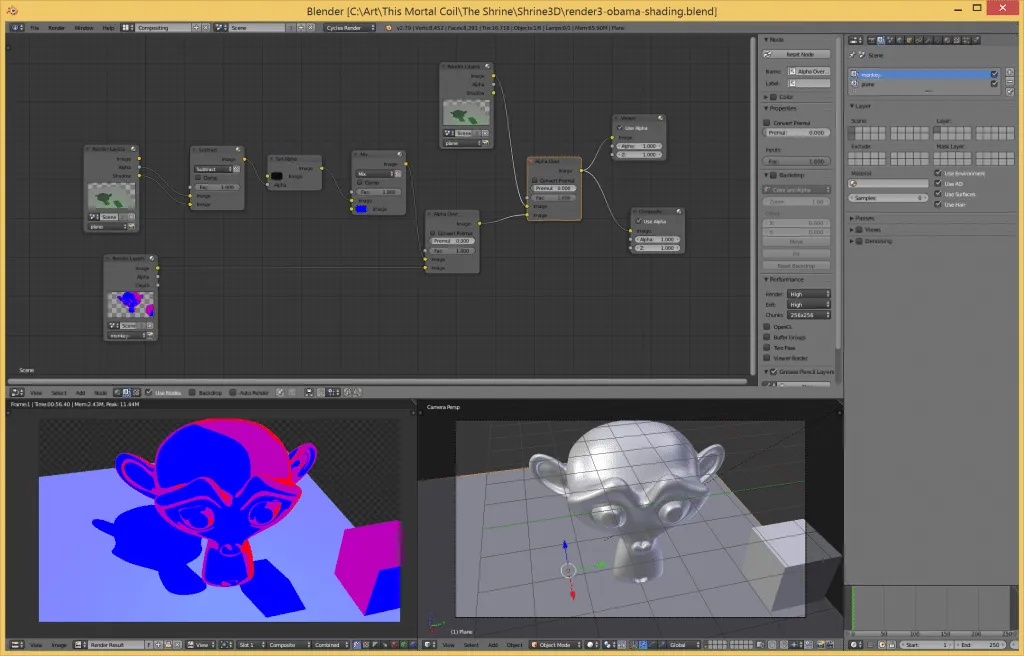
This warrants some more experimenting. One issue was the color mixing. I wasn’t getting results I expected even though I liked how it turned out. I could probably try to use my minimum node trick to do an OR operation on the colors to determine what the shade is.
Toon Shadows and Dual Colors
This experiment came before the Obama one. The Layer Weight node in this shader setup is seemingly made for doing toon style rendering. It basically gives everything a rim light and when mixed with a color ramp allows you to control the “toon shading.”
Maybe this could work for The Shrine, but I wanted the shadows to be the same color as the “dark color”, which in this case is blue.
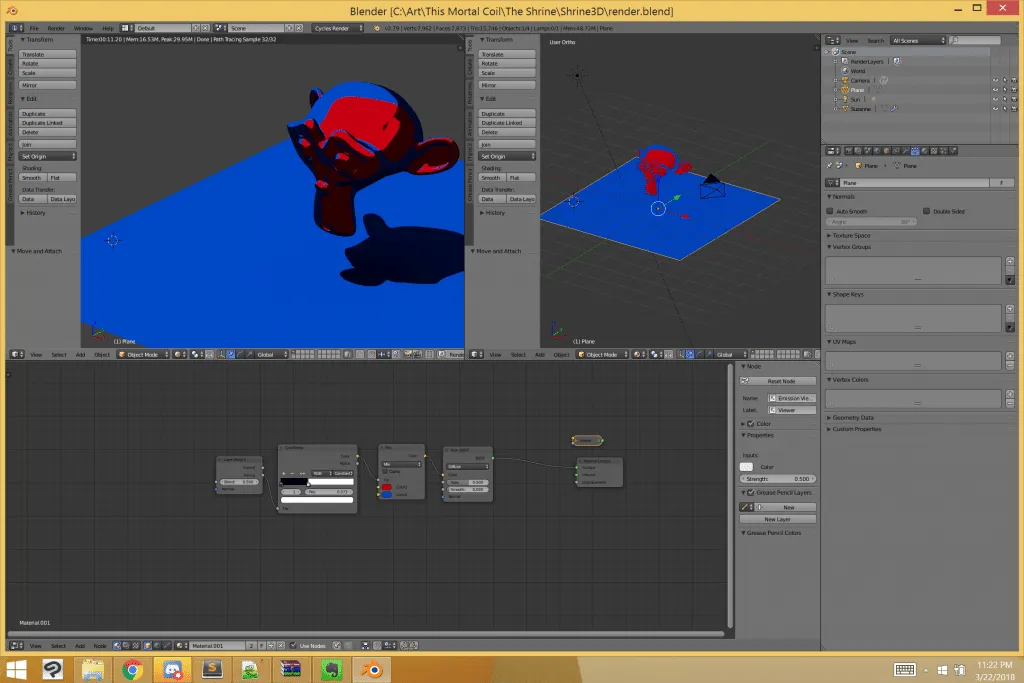
I mucked with different colors and a slightly different node setup to achieve this render:
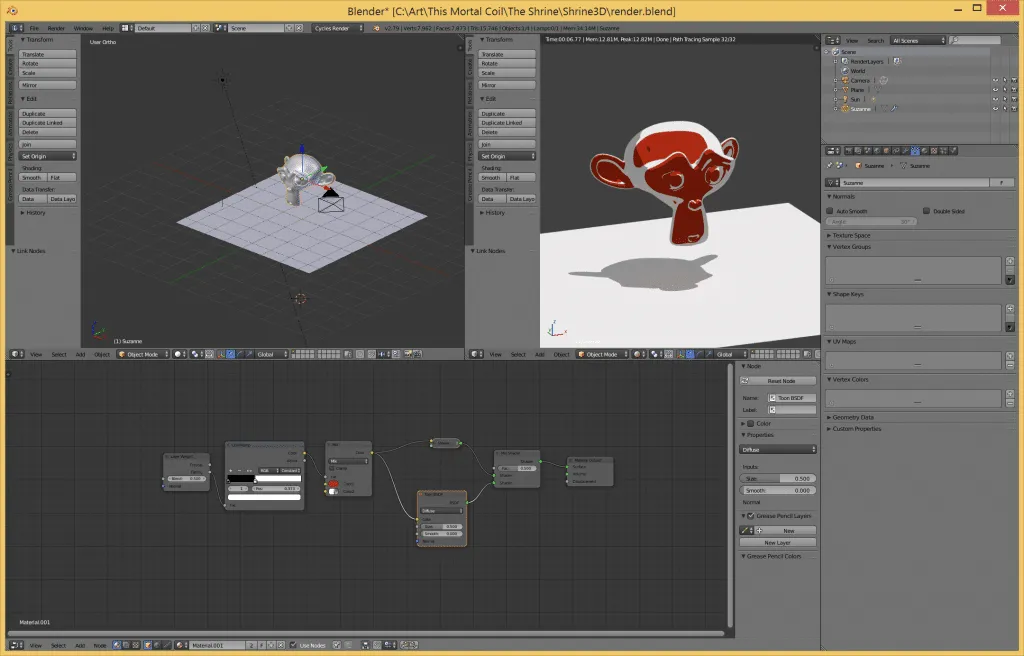
I ended up not going with this dual color approach, because the shadows were still not the color I wanted them.
Some Helpful Youtube Videos
A lot of what I learned for toon shading with Blender Cycles came from watching a lot of Youtube videos. So here’s the research and learning I did below.
If you’re looking to do simple toon shading setups. There’s a great video that explains how you can do that in Blender Cycles right here:
Here’s a hint, it’s not easy with Cycles. Cycles is about photorealism and physically-based rendering, which you’re not doing! So you need to go and turn off a lot of Cycles’ features, but you can create harsh cel-shaded shadows and a nice toon effect.
Here’s one of the initial videos I watched on high contrast NPR shading using Blender. If you want to know how to use the Layer Weight node to get some cool high contrast effects, check this video out!
Here’s a video by Light BWK who teaches you how to do toon shading with straight up math in Blender:
This video is on using the Blender compositor to merge multiple render layers together and composite them over a photograph. There’s a lot of great compositor node setup information in this one.
Oh, so one of the things he’s trying to do in this video is to capture the shadows by itself, and there’s a way in new versions of Blender of doing that without using compositor nodes. You can simply make a surface into a shadow catcher. The surface will only show the shadow of the object and otherwise be transparent when rendered. Great if you’re going to place the 3D object over live footage.
I tried a lot of approaches to learn enough about shader nodes to build something that was close enough to what I wanted.
I only stopped because I felt that I was spinning my wheels and making no progress after doing this for weeks. It’s too easy to sit here and think of one more thing to try, and each new thing I try is stalling me from finishing up and moving on to the next thing.
Now, I’ll open it up to you: what are your favoriite NPR tricks and tutorials using Blender? Please share them in the comments below!